Reusable Grocery Bag Raw Meat and Produce Safety Routine
A practical food-safety routine for separating raw meat, produce, chilled foods, and washable reusable grocery bags from cart to kitchen.
Safety fact check included
CookNest Daily articles surface source counts, timing assumptions, kitchen-test notes, and food-safety caveats. This label means editorial safety review, not a substitute for local food-code or medical guidance.
This guide was checked on 2026-06-25 against the listed sources. It is practical guidance, not a substitute for qualified medical, emergency, food-safety, driving, electrical, or legal advice. Use current official alerts, product manuals, local rules, and professional guidance when they are stricter than this checklist.
Quick decision table
| Situation | Safer choice | Mistake to avoid |
|---|---|---|
| At the cart | Put raw meat in a separate bag or leakproof secondary container | Letting meat packages sit against produce or bread |
| At checkout | Keep ready-to-eat foods away from raw packages | Reusing one bag for every category without cleaning |
| At home | Unload raw foods low and first, then clean contact points | Setting leaking packages on the produce prep counter |
| After the trip | Wash or retire dirty bags and dry them fully | Folding damp contaminated bags back into the car |
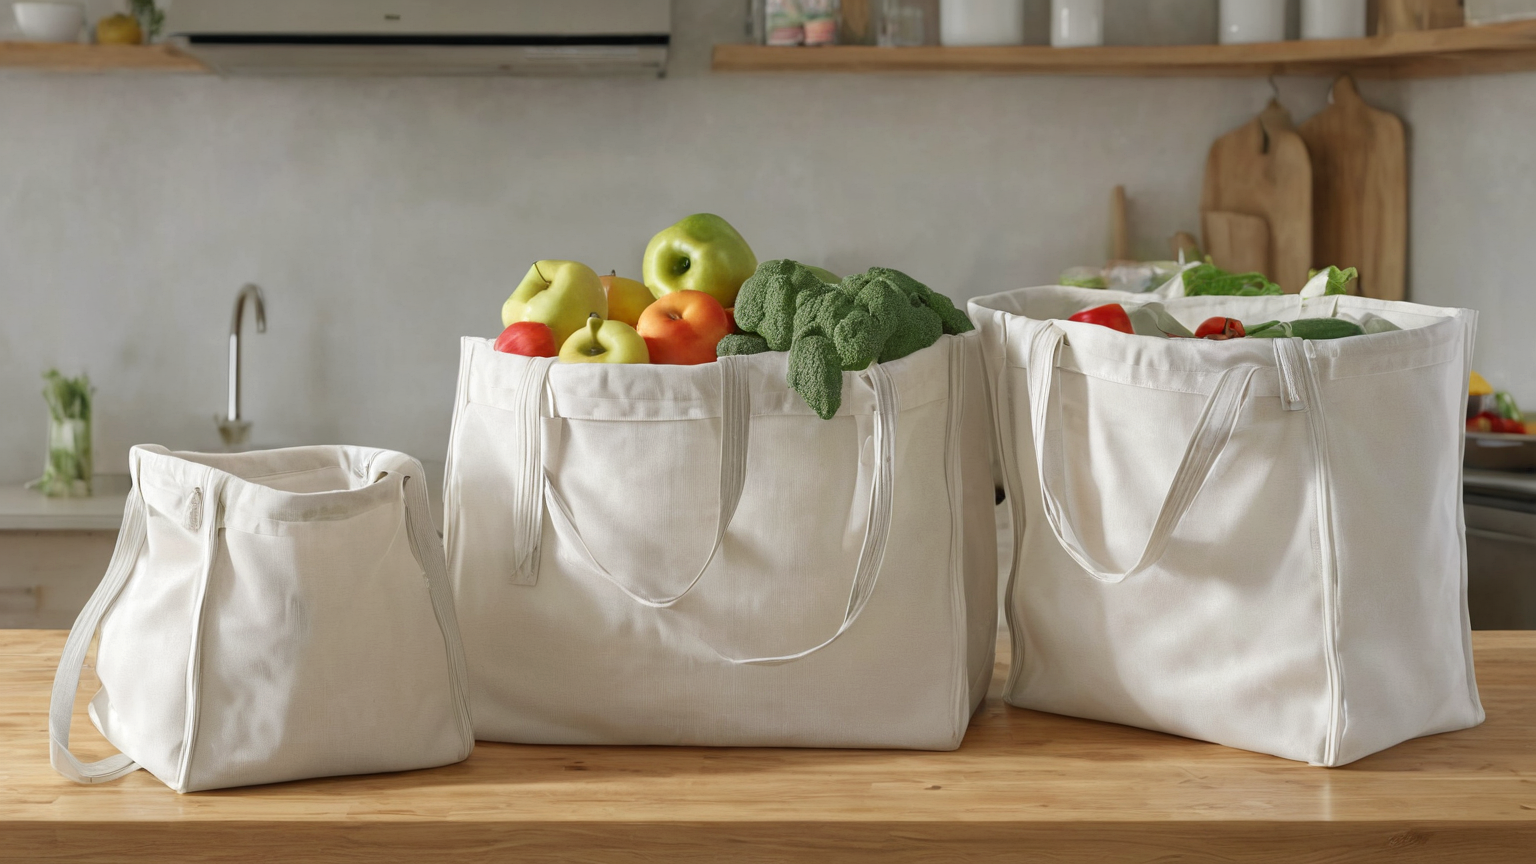
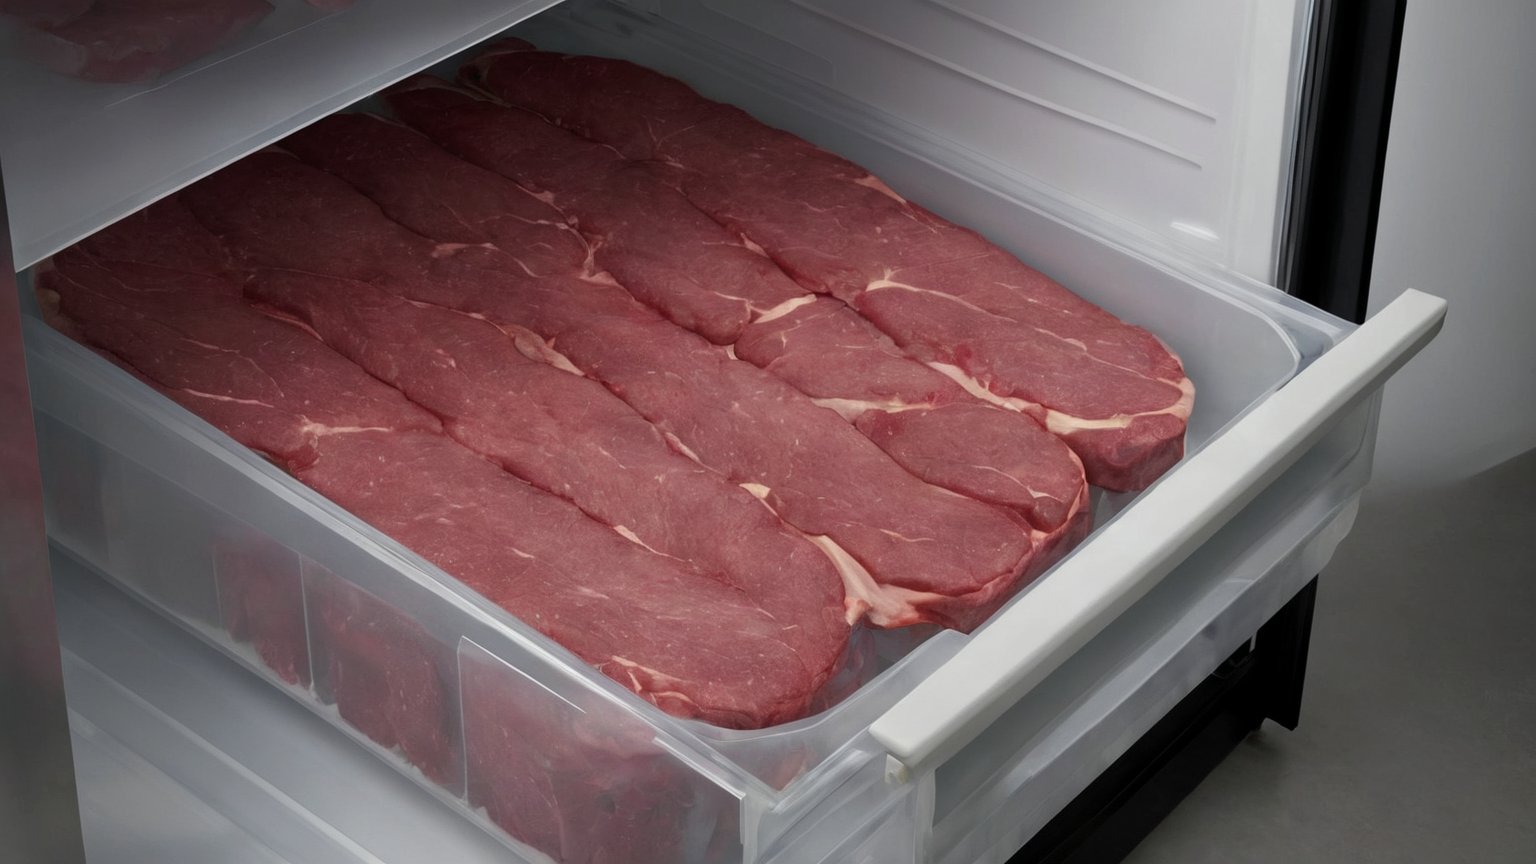
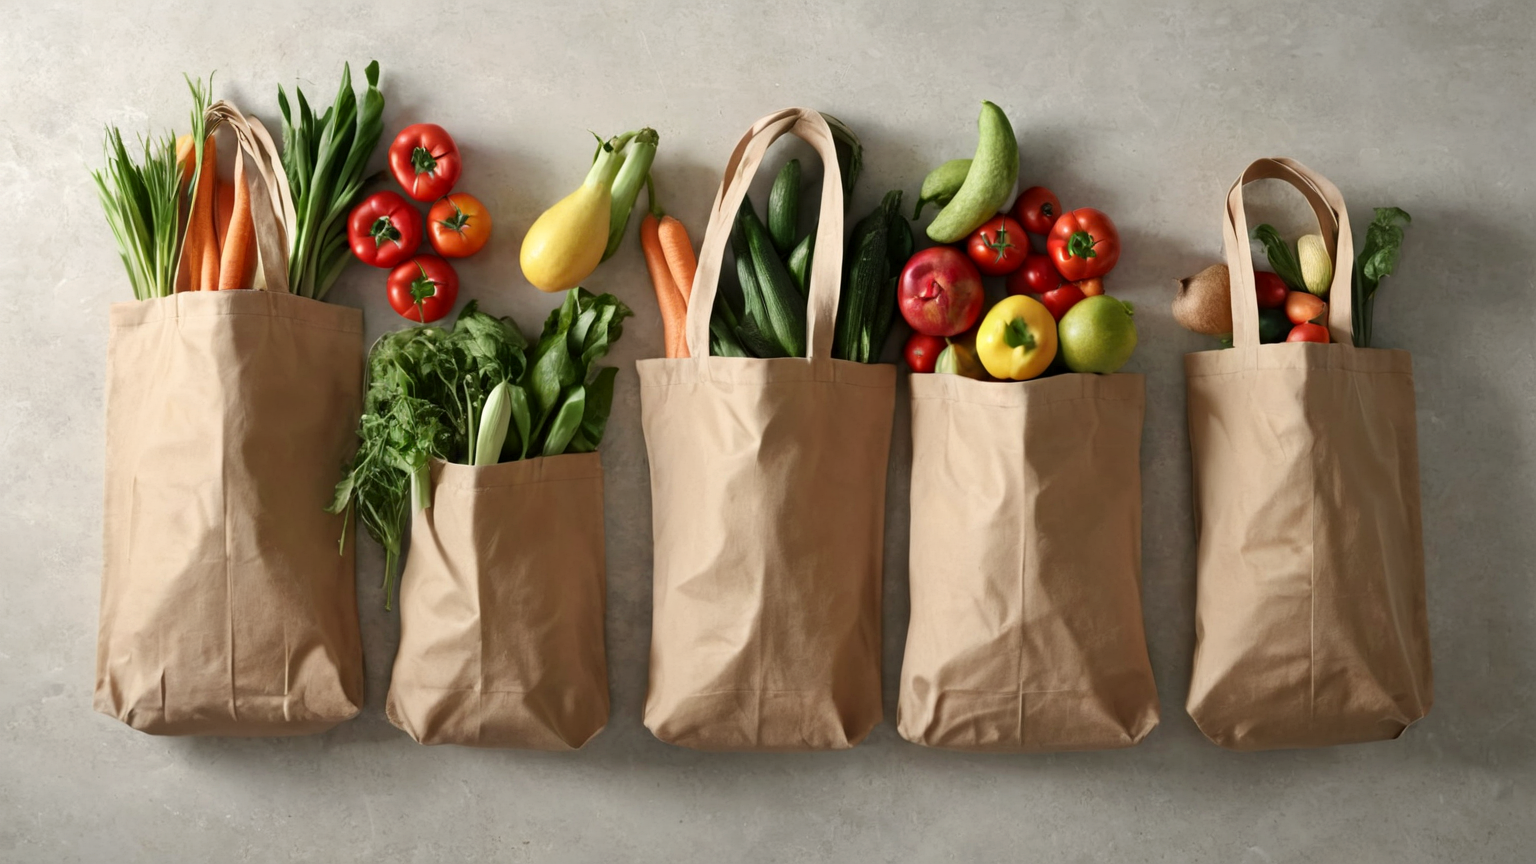
1. Separate bags before food touches them
Reusable grocery bags are useful only when they remain predictable. Assign one washable bag or bin to raw meat, poultry, and seafood, and keep produce, bakery items, and ready-to-eat foods in a different bag. The important step happens before checkout, not after a leak has already spread.
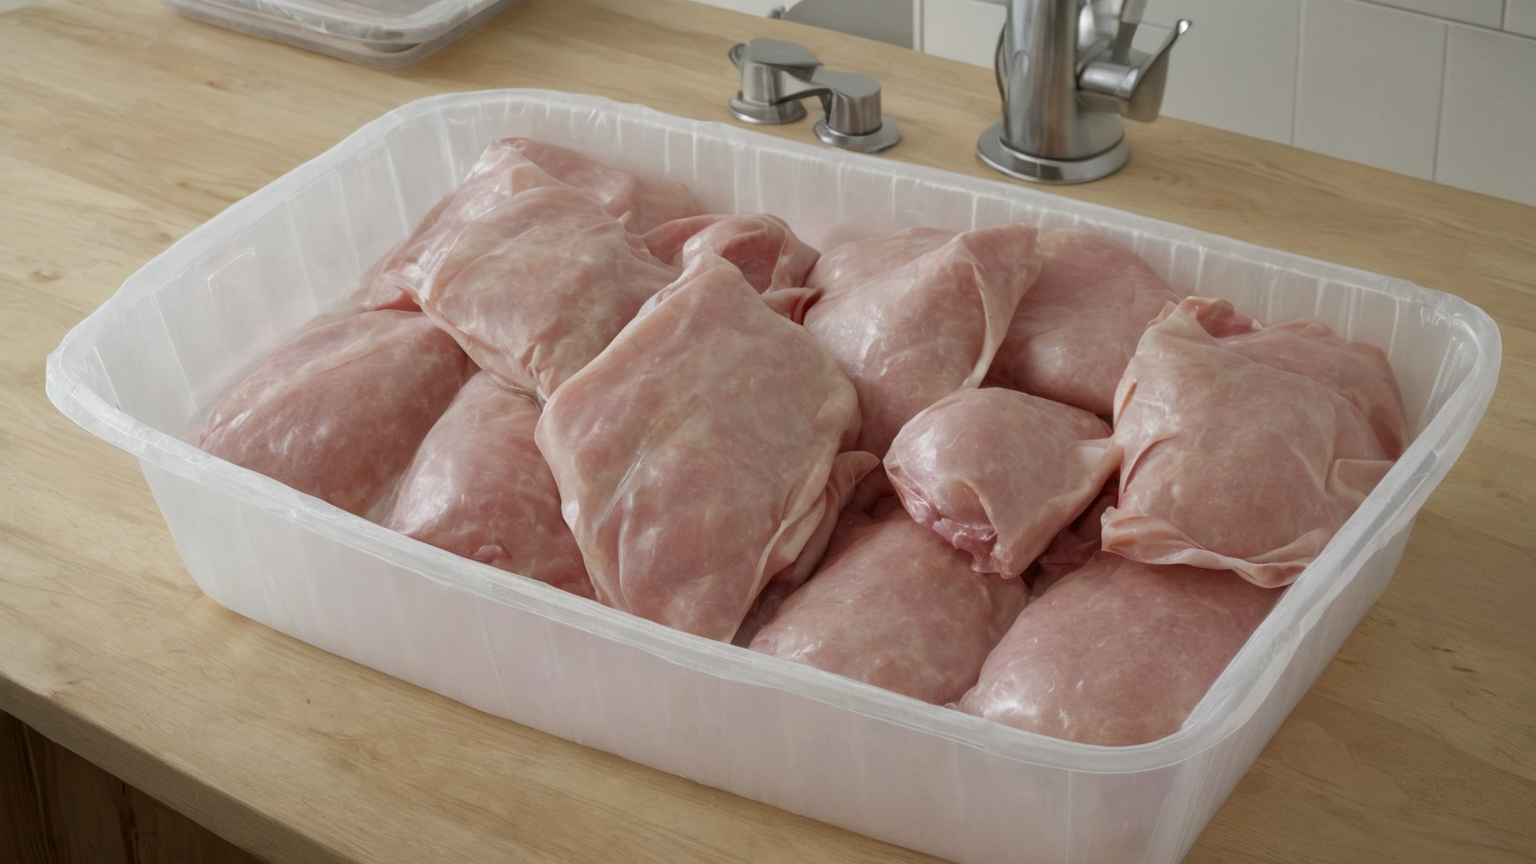
2. Treat leaks as contamination events
A meat package leak should be treated like a food-safety event, not a small mess. Keep the package in a tray or secondary bag, prevent liquid from contacting produce, and clean any surface that may have touched it. Do not rely on smell or appearance to decide whether a ready-to-eat item is safe after contact.
3. Unpack in the safest order
At home, unload raw foods directly to the refrigerator or freezer and keep them below ready-to-eat foods. Then move produce and pantry items to clean surfaces. This ordering prevents the common mistake of placing a raw package on the same counter where berries, greens, or bread will be handled next.
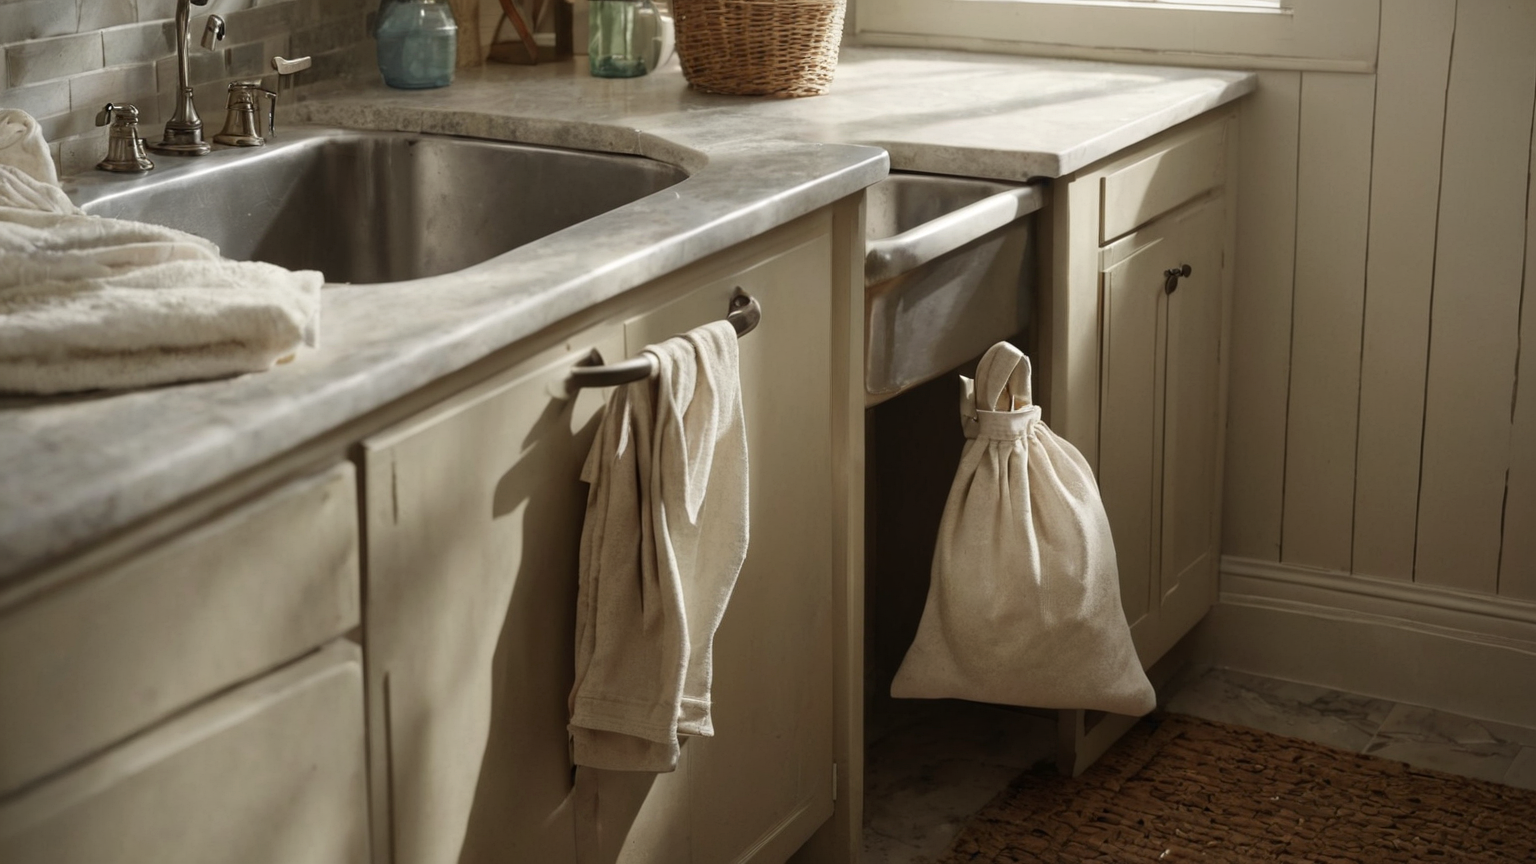
4. Clean and dry bags on a schedule
Reusable bags need a real maintenance habit. Wash cloth bags according to their care directions, wipe hard-sided bins, dry everything fully, and retire damaged bags that trap residue. Store clean food bags away from sports gear, shoes, pet supplies, and trunk clutter.
5. Adapt the routine for higher-risk eaters
For pregnant people, young children, older adults, or immunocompromised guests, use the stricter version of the routine. The page improves trust by putting separation, cleaning, and discard decisions in readable text instead of relying on decorative food images.
Step-by-step checklist
- Check the current source, alert, label, manual, condition, or symptom before starting.
- Prepare the physical setup so the safer choice is easier than the shortcut.
- Use the decision table when a warning appears; downgrade or stop before risk stacks.
- Keep warnings and procedures as selectable text instead of text embedded inside AI images.
- Record one improvement for the next repeat so the page remains useful-content first.
Practical examples
- Low-risk repeat: conditions are normal, the setup is ready, and the action can be completed without rushing.
- Downgrade: one warning sign appears; choose the smaller safer version and preserve the habit.
- Stop/reset: the warning affects safety, health, contamination, visibility, or electrical risk.
- Ask for help: the situation exceeds a household checklist or current official guidance says to stop.
FAQ
Is this current for June 2026? Yes. The article was checked on 2026-06-25, but live alerts, recalls, manuals, and qualified advice still take priority.
Why are the images not used for instructions? GTI13 images are illustrative only. Checklists, warnings, and comparisons are written as accessible body text.
Does this page contain affiliate recommendations? No. The article is designed to preserve helpful-content quality, trust, and AdSense readiness rather than push products.
2026 AdSense quality update: how to use this guide in a real kitchen
This section was added on 2026-06-26 after a sitewide quality review. The goal is to make Reusable Grocery Bag Raw Meat and Produce Safety Routine more useful than a short reminder list: it should help a reader decide what to do, what to measure, and when to stop. For this topic, the main risk is that raw juices, marinades, tongs, platters, and thermometer probes can move bacteria to ready-to-eat food. The safe response is not a vague promise to “be careful”; it is to separate raw and cooked equipment, verify doneness with a thermometer, and clean the probe and work area between foods.
Use the guide as a kitchen workflow, not as medical advice. If someone is already ill, has a high-risk immune status, is pregnant, is an older adult, or is feeding young children, use official food-safety guidance and professional medical advice rather than experimenting with borderline food.
Decision workflow for raw meat and high-heat cooking
| Checkpoint | What to verify | Safer default | Evidence to keep |
|---|---|---|---|
| Before cooking | Is the ingredient cold, separated, and within date? | Start with clean hands, a clean board, and a clean tool set. | Package date, refrigerator temperature, or shopping time. |
| During prep | Can raw juices or dirty water reach ready-to-eat food? | Separate raw, cooked, and produce zones before the counter gets busy. | Which board, knife, plate, and towel were used. |
| During cooking or holding | Is there a measurable temperature or time control? | Use a thermometer, timer, shallow container, or cooler plan instead of memory. | Internal temperature, discard time, or cooling start time. |
| Serving | Will guests open, touch, or move the food repeatedly? | Serve smaller portions and refill from a controlled hot/cold source. | Time the first serving dish left the refrigerator, grill, or oven. |
| Leftovers | Do you know the time and temperature history? | Refrigerate promptly; discard when the history is unclear. | Container label with date and food name. |
| Cleanup | Could residue move to tomorrow’s food? | Wash, sanitize where appropriate, and air-dry before storage. | Tool or surface that needs a second pass. |
Three common failure scenarios
- The schedule slips. Guests arrive late, errands take longer than expected, or a storm changes the plan. When timing changes, reset the food-safety clock instead of stretching it. Move food back to controlled temperature, or write a new discard time.
- The workspace gets crowded. Phones, towels, packaging, pets, and drink cups enter the prep area. Clear one clean landing zone for ready-to-eat food and keep raw-food tools visibly separate.
- A food looks fine but the history is unknown. The dangerous version is color-based doneness, one platter for raw and cooked food, or reusing marinade as sauce. Smell, color, and texture are not reliable safety tests. When the time/temperature history is missing, discard the food.
Household checklist
- Put a refrigerator thermometer where it can be seen without moving food.
- Keep at least one instant-read thermometer clean and easy to reach.
- Use shallow containers for dense leftovers and label the date.
- Keep raw-meat boards, produce boards, and serving platters visually different.
- Decide the discard rule before cooking begins, not after everyone is tired.
- Re-check official sources when cooking for high-risk people or large groups.
Why this page exists
Many food-safety articles repeat the same four words—clean, separate, cook, chill—without showing the handoffs where people actually fail. CookNest Daily articles now include the handoff: what to measure, what to separate, what to label, and what to discard. That is the value this page adds for readers preparing a real meal.
Reader worksheet: turn the advice into a one-meal plan
Before applying this article, write a four-line plan on paper or in a kitchen note. The first line is the food and the person responsible. The second line is the measurable control for this raw-protein workflow: thermometer reading, separate platters, marinade handling, and leftover deadline. The third line is the moment when the food changes status, such as leaving the refrigerator, reaching the grill, being cut, being packed, or being served. The fourth line is the discard or escalation rule.
That small note matters because most food-safety failures are not caused by ignorance of the rule. They happen when two people assume the other person started the timer, checked the thermometer, separated the platter, or moved the food back to the refrigerator. A written handoff also helps if you are cooking for guests, children, older adults, pregnant people, or anyone with a higher risk from foodborne illness.
For a single-person household, keep the note simpler: date, food, container, and next safe use. For a shared household, add owner and shelf location. For a party or outdoor meal, add the time the food left temperature control and the person allowed to discard it without debate. The goal is to remove social pressure from the decision. If the rule says discard, the host should not need to negotiate with a guest who says it “still looks fine.”
Use this worksheet with the official-source links above. If the official page gives a more specific number for your food, appliance, or situation, follow that source over a generic summary. CookNest Daily intentionally keeps the stop points visible because AdSense-quality food content should help a reader make a safer decision, not just repeat keywords.