Instant-Read Thermometer Tested — 2026 Picks for Home Cooks
The 1-second instant-read thermometer eliminates doneness guesswork. Compared models from ThermoWorks Thermapen to budget alternatives with response time, accuracy, and durability.
Safety fact check included
CookNest Daily articles surface source counts, timing assumptions, kitchen-test notes, and food-safety caveats. This label means editorial safety review, not a substitute for local food-code or medical guidance.
The instant-read thermometer is one of the highest-leverage tools in any home kitchen. The doneness guesswork that produces dry chicken, rare-when-you-wanted-medium steak, and undercooked pork gets eliminated entirely. Within a week of using one, the practical effect on cooking confidence is dramatic — temperature targets replace guesses, and outcomes become consistent across batches.
This article compares instant-read thermometers by response time, accuracy, and durability, then explains which features matter for different cooking styles. The conclusion is that any home cook who handles meat, fish, or temperature-critical baking should own at least one instant-read thermometer; the only question is which one suits their budget and use frequency.
- Why response time matters more than buyers expect
- Thermocouple vs thermistor sensor technology
- Where to insert the thermometer for each food type
- Calibration verification and maintenance
- Top picks across $25-130 budget range
Why response time matters
The defining specification of an instant-read thermometer is how fast it reaches stable temperature reading. The range across the market:
1-2 seconds: Premium thermocouple thermometers (ThermoWorks Thermapen ONE, Thermapen Mk4) 3-5 seconds: Mid-range thermistors (Lavatools Javelin Pro, ThermoWorks Classic Super-Fast) 8-15 seconds: Budget thermistors (Habor, ChefsTemp Finaltouch, generic Amazon) 20-40 seconds: Cheap pocket thermometers (sub-$15 brands)
The practical difference: when checking turkey doneness in a 325°F oven, every second the oven door is open drops the oven temperature by ~2-3°F. A 1-second reading drops the oven 2-3°F. A 15-second reading drops it 30-45°F — requires recovery time that affects cooking.
For steak on the grill, the same principle applies. A quick check minimizes carry-over cooking time and keeps the steak at the target doneness. Slow thermometers add cooking time that’s hard to predict.
The thermometer doesn’t just measure temperature — it intervenes minimally in the cooking process. Faster intervention produces more consistent results.
Thermocouple vs thermistor
Thermocouple thermometers use the Seebeck effect — a junction of two different metals (typically nickel-chromium and nickel-aluminum) generates a small voltage proportional to temperature. The technology has been the industrial standard since the 1950s.
Advantages:
- Wide temperature range (-200°F to 2000°F)
- Fast response (1-2 seconds)
- Durable and accurate
Disadvantages:
- More expensive than thermistor
- Voltage output is small, requires precise amplifier circuitry
Thermistor thermometers use a semiconductor whose resistance changes with temperature. The change is measured by precision circuitry.
Advantages:
- Cheaper than thermocouple
- Good accuracy in narrow range (-50°F to 500°F covers all cooking)
- Simpler circuitry
Disadvantages:
- Slower response (3-15 seconds)
- Less stable over years of heavy use
For home cooks who use a thermometer a few times a week, thermistor is fine. For users who check temperature dozens of times daily (chef-grade home cooking), thermocouple’s speed becomes worthwhile.
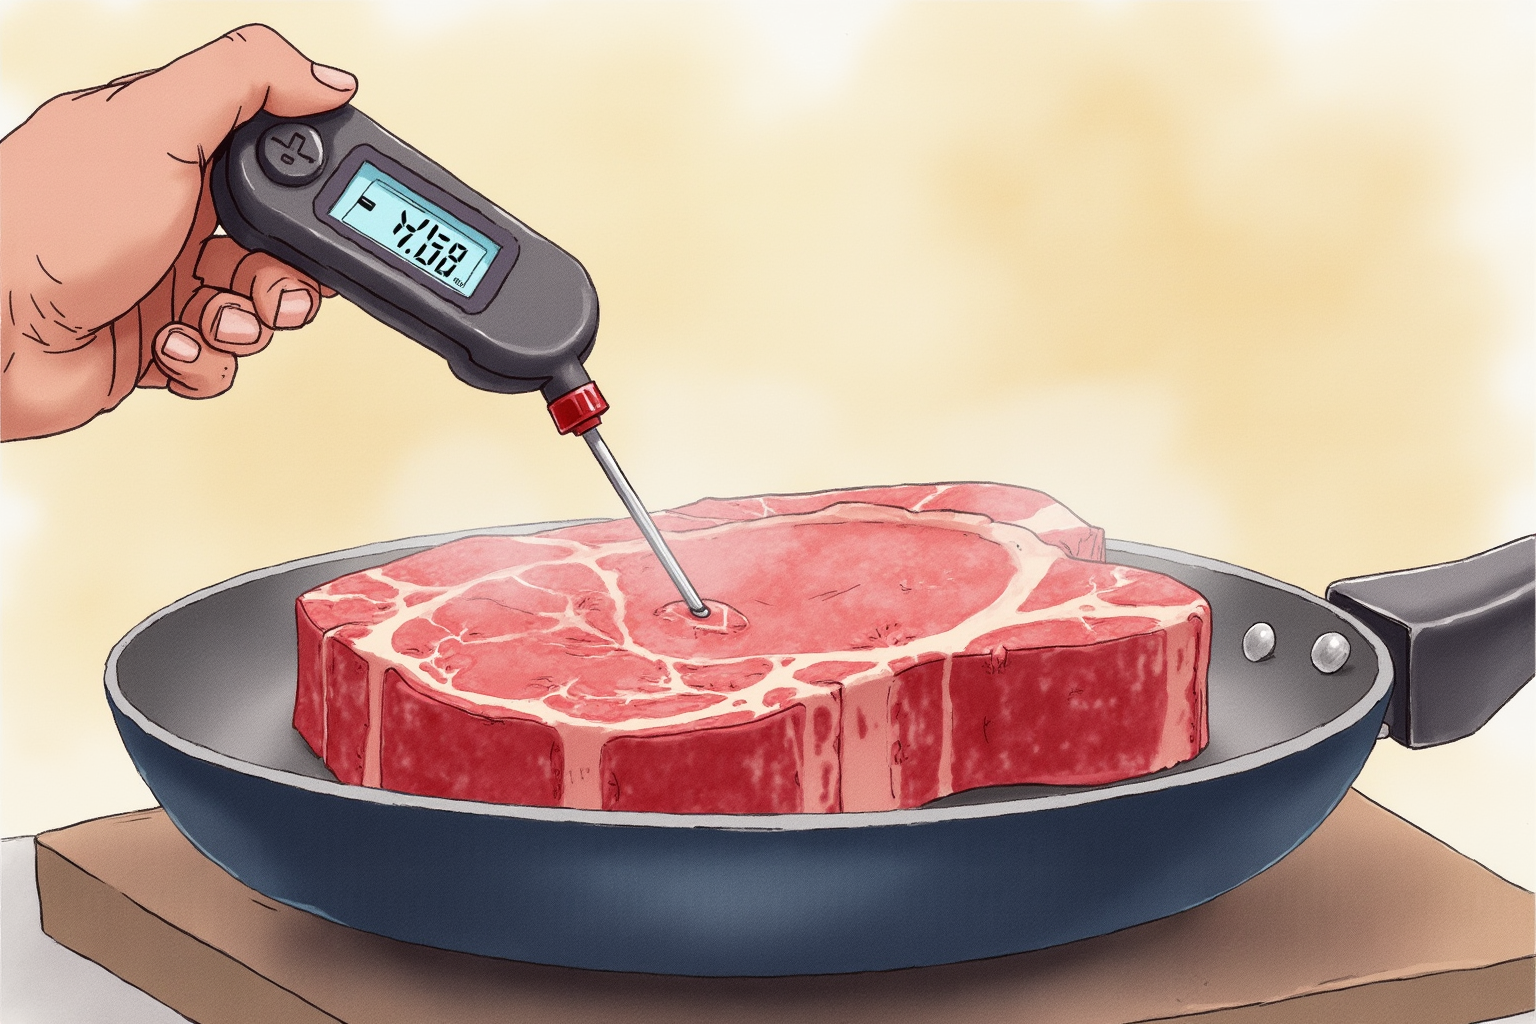
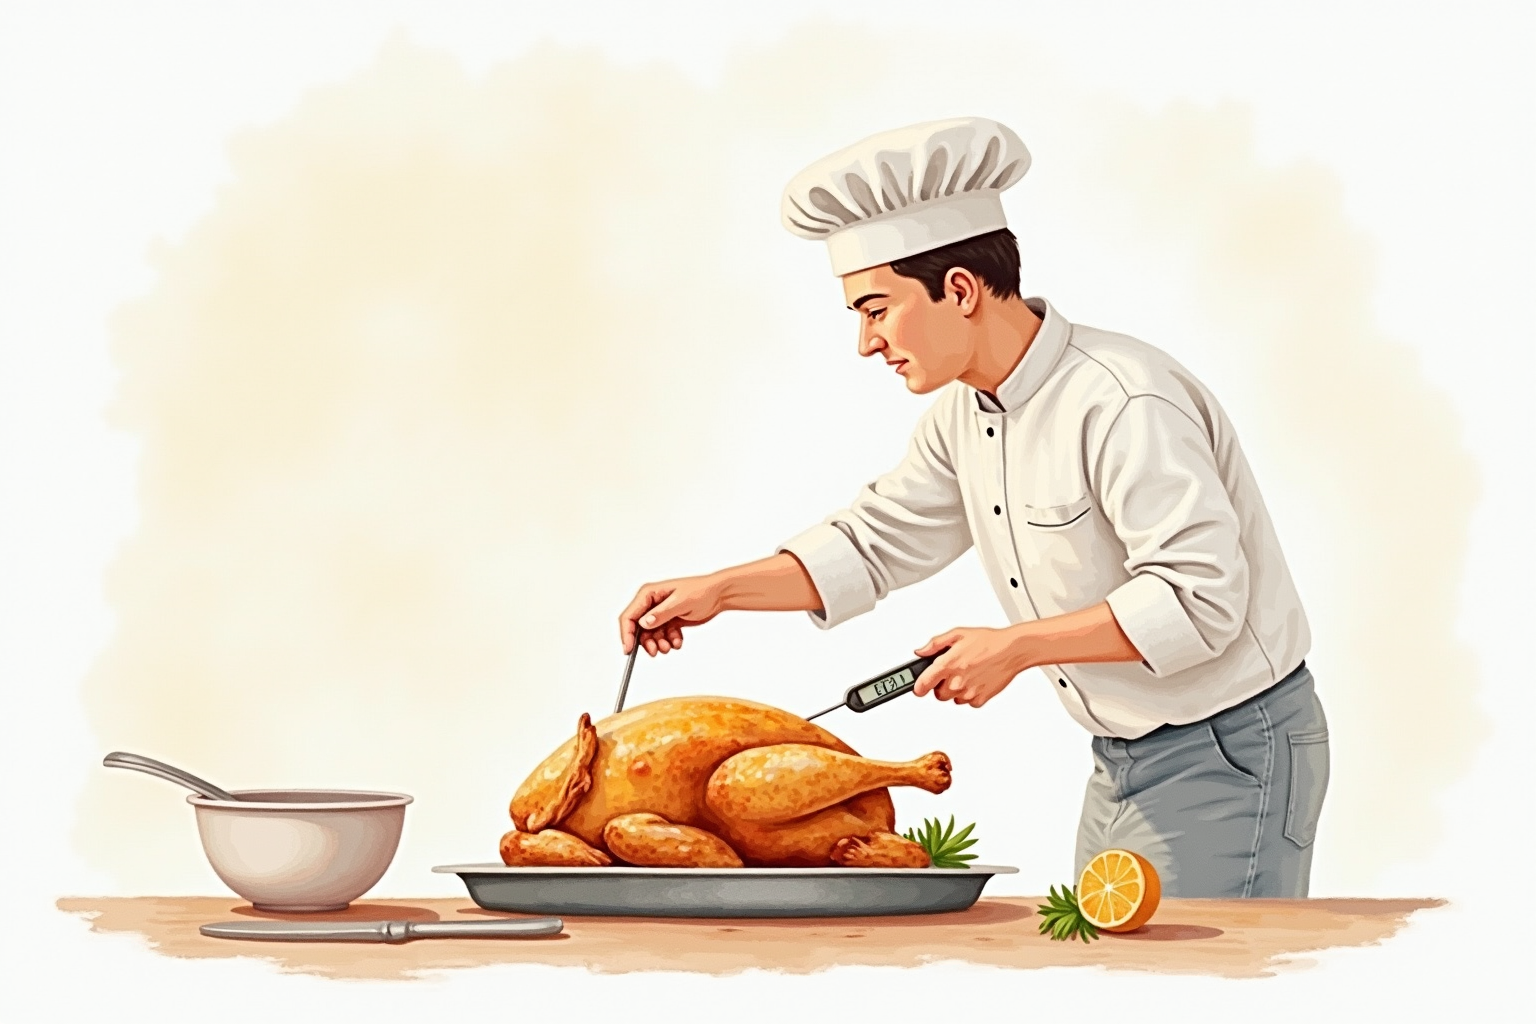
Insertion points by food
The thermometer measures only at the probe tip. Insertion location determines whether the reading is meaningful:
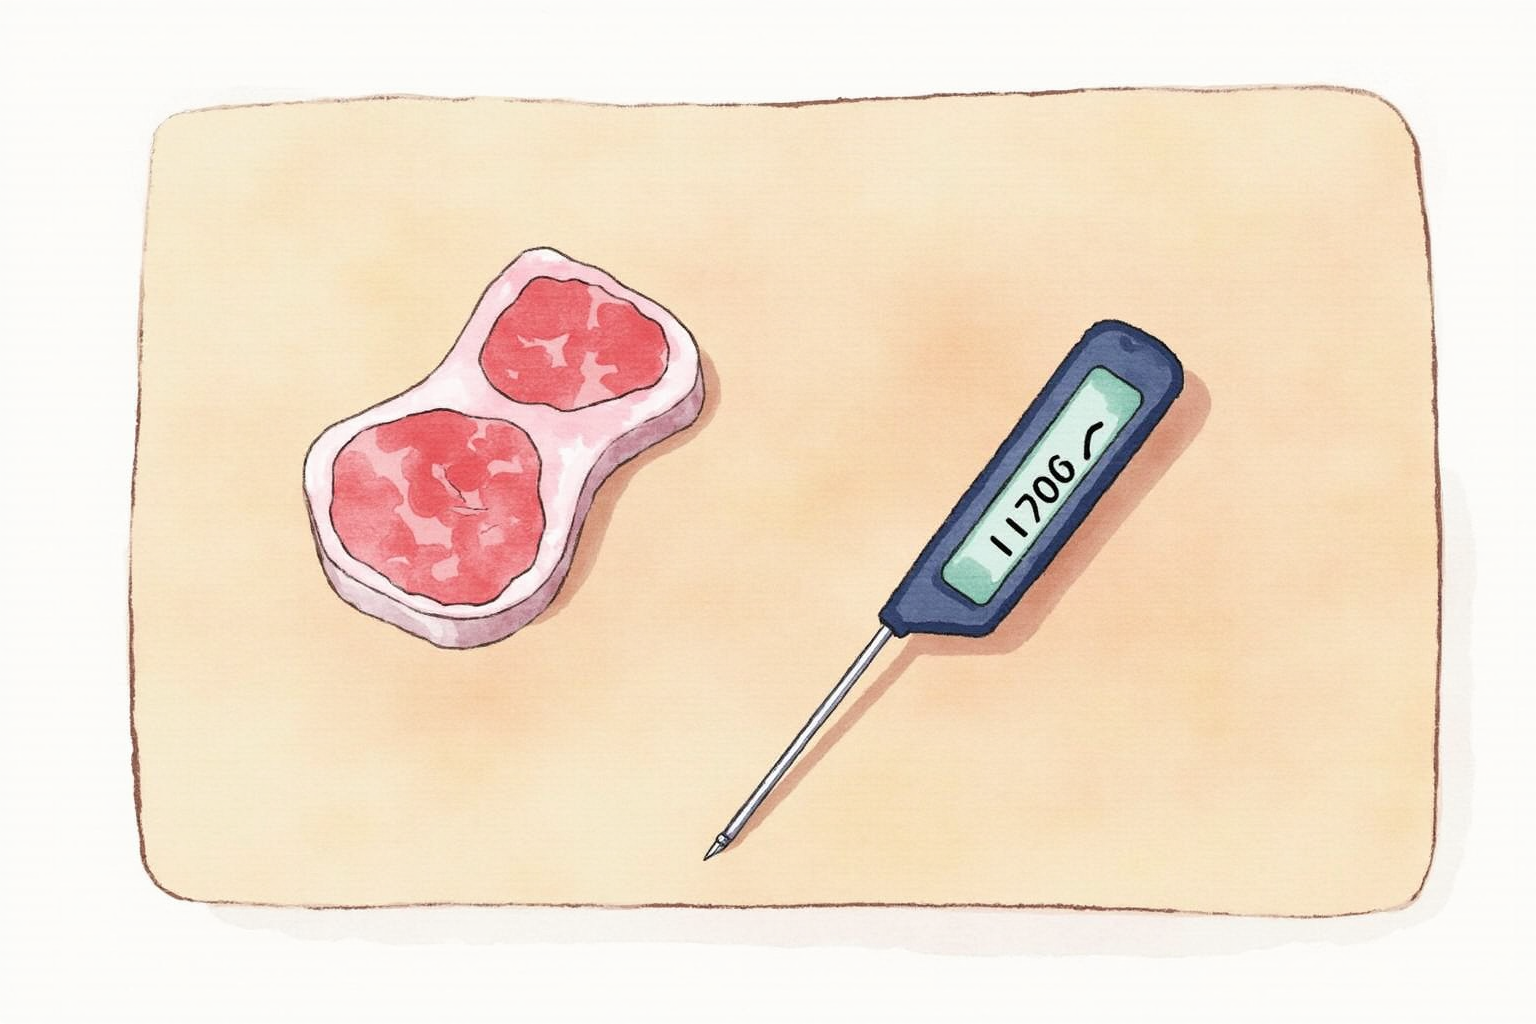
Steak, pork chops, fish fillets: Center of the cut, parallel to the surface for maximum probe depth in the muscle.
Roasts (beef, pork, lamb): Thickest part, halfway through the depth. For bone-in roasts, near but not touching the bone — bone conducts heat differently than muscle.
Whole chicken, turkey: Thickest part of the thigh, beside the thigh bone. The thigh runs cooler than the breast; the thigh temperature is the safety limit.
Bread: Middle of the loaf, inserted from the side. Target 200-210°F for done.
Cakes: Center, halfway up. 200-205°F for fully baked. Use only for testing, then frost over the small hole.
Custards, eggs: 160-170°F for done (above this, they curdle).
Fish: Thickest part of the fillet. 130°F for medium-rare salmon, 145°F for fully cooked white fish.
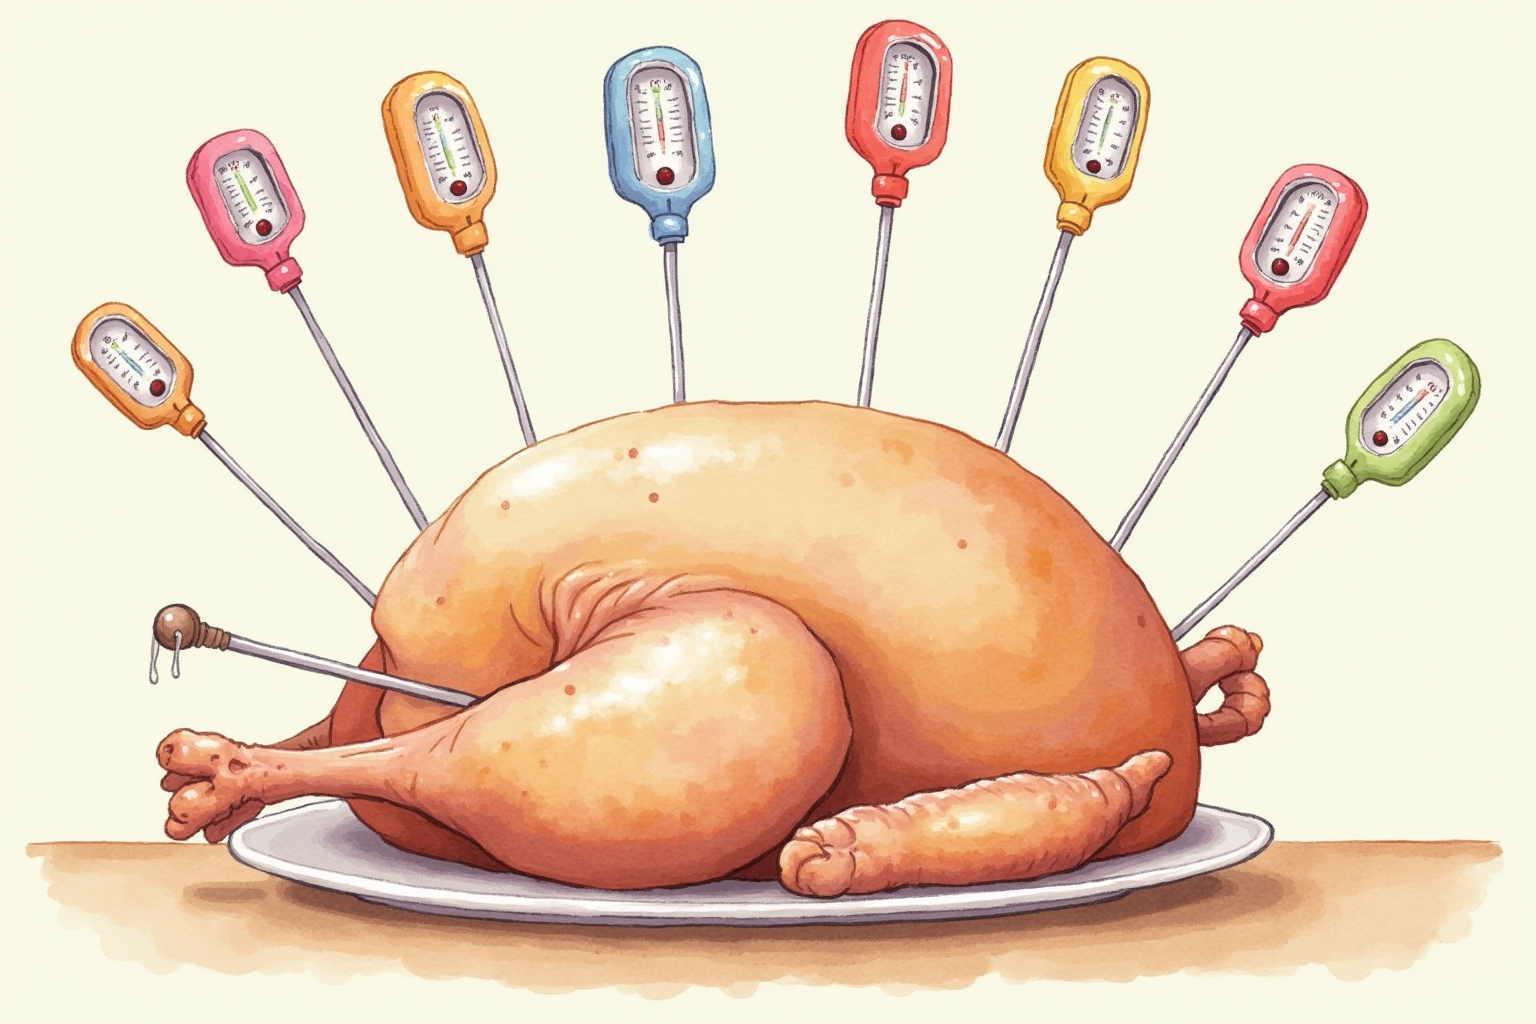
Multi-fillet pieces (chicken thighs, salmon portions): Check each piece individually. Even-looking pieces vary in actual thickness.
Calibration verification
Thermometers drift slightly over time. Verify accuracy periodically using two reference points:
Ice water (32°F / 0°C): Fill a glass with ice and add cold water. Stir until temperature stabilizes. Insert probe 2 inches deep in the ice slurry. Reading should be 32°F ± 2°F.
Boiling water (212°F / 100°C at sea level): Bring water to a rolling boil. Insert probe 2 inches deep. Reading should be 212°F minus altitude correction (about 2°F per 1000 feet above sea level — so 200°F in Denver at 5280 feet).
If readings are off by more than 2°F, calibrate per the manufacturer’s instructions. Most thermometers have a small screw or calibration button. Premium thermometers (ThermoWorks Thermapen ONE) hold factory calibration for years.
Verify calibration annually for daily-use thermometers; every 2-3 years for occasional-use.
Top picks across budgets
ThermoWorks Thermapen ONE
Price · $105-115 — best premium pick
+ Pros
- · 1-second response time across the cooking range
- · Accurate to ±0.5°F — pro-grade precision
- · Waterproof rated to IP67, survives drops on tile
− Cons
- · Premium price reflects pro-grade build
- · Battery (CR2032) lasts 3000+ readings — annual replacement
Price, availability, and ratings can change; verify details on the retailer page before buying.
Lavatools Javelin Pro Duo
Price · $50-65 — best mid-range pick
+ Pros
- · 3-4 second response time — fast enough for any home task
- · Magnetic backing sticks to refrigerator or oven for storage
- · Backlit display visible in oven heat
− Cons
- · Slower than premium thermocouple alternatives
- · Lavatools brand newer than ThermoWorks — less long-term track record
Price, availability, and ratings can change; verify details on the retailer page before buying.
ThermoPro TP19H Instant Read
Price · $20-30 — best budget pick
+ Pros
- · 4-5 second response time better than most budget alternatives
- · Sturdy build vs cheap competitors
- · Backlit display and magnetic backing
− Cons
- · ThermoPro is brand below ThermoWorks in industry reputation
- · Battery life shorter than premium alternatives
Price, availability, and ratings can change; verify details on the retailer page before buying.
The buying decision
For serious home cooks who use a thermometer daily and want the fastest, most accurate experience, the ThermoWorks Thermapen ONE at $105-115 is the right premium pick. The 1-second response time, ±0.5°F accuracy, and IP67 waterproofing justify the price for users whose cooking depends on temperature confidence.
For most home cooks who want a reliable thermometer without the premium markup, the Lavatools Javelin Pro Duo at $50-65 is the right pick. The 3-4 second response is fast enough for any home task, the magnetic backing makes storage easy, and the price is appropriate for the value tier.
For budget-conscious users or as a secondary thermometer, the ThermoPro TP19H at $20-30 delivers the basic functionality. The response time is slower than premium alternatives but still acceptable for typical home use.
Avoid thermometers under $15 — response times are 20-40 seconds, accuracy is unreliable, and durability is poor. The $20-30 floor is where reliable budget thermometers start.
The instant-read thermometer is the single tool that most distinguishes confident home cooks from anxious ones. Once temperature targets replace doneness guesses, cooking becomes consistent across attempts and recipes. The investment pays back within the first week of use.
2026 AdSense quality update: how to use this guide in a real kitchen
This section was added on 2026-06-26 after a sitewide quality review. The goal is to make Instant-Read Thermometer Tested — 2026 Picks for Home Cooks more useful than a short reminder list: it should help a reader decide what to do, what to measure, and when to stop. For this topic, the main risk is that the risk usually comes from one missed handoff between shopping, prep, cooking, serving, and cleanup. The safe response is not a vague promise to “be careful”; it is to write the trigger, thermometer check, time limit, cleaning step, and discard rule before the busy part of cooking starts.
Use the guide as a kitchen workflow, not as medical advice. If someone is already ill, has a high-risk immune status, is pregnant, is an older adult, or is feeding young children, use official food-safety guidance and professional medical advice rather than experimenting with borderline food.
Decision workflow for kitchen food-safety routine
| Checkpoint | What to verify | Safer default | Evidence to keep |
|---|---|---|---|
| Before cooking | Is the ingredient cold, separated, and within date? | Start with clean hands, a clean board, and a clean tool set. | Package date, refrigerator temperature, or shopping time. |
| During prep | Can raw juices or dirty water reach ready-to-eat food? | Separate raw, cooked, and produce zones before the counter gets busy. | Which board, knife, plate, and towel were used. |
| During cooking or holding | Is there a measurable temperature or time control? | Use a thermometer, timer, shallow container, or cooler plan instead of memory. | Internal temperature, discard time, or cooling start time. |
| Serving | Will guests open, touch, or move the food repeatedly? | Serve smaller portions and refill from a controlled hot/cold source. | Time the first serving dish left the refrigerator, grill, or oven. |
| Leftovers | Do you know the time and temperature history? | Refrigerate promptly; discard when the history is unclear. | Container label with date and food name. |
| Cleanup | Could residue move to tomorrow’s food? | Wash, sanitize where appropriate, and air-dry before storage. | Tool or surface that needs a second pass. |
Three common failure scenarios
- The schedule slips. Guests arrive late, errands take longer than expected, or a storm changes the plan. When timing changes, reset the food-safety clock instead of stretching it. Move food back to controlled temperature, or write a new discard time.
- The workspace gets crowded. Phones, towels, packaging, pets, and drink cups enter the prep area. Clear one clean landing zone for ready-to-eat food and keep raw-food tools visibly separate.
- A food looks fine but the history is unknown. The dangerous version is letting convenience replace temperature, separation, or handwashing. Smell, color, and texture are not reliable safety tests. When the time/temperature history is missing, discard the food.
Household checklist
- Put a refrigerator thermometer where it can be seen without moving food.
- Keep at least one instant-read thermometer clean and easy to reach.
- Use shallow containers for dense leftovers and label the date.
- Keep raw-meat boards, produce boards, and serving platters visually different.
- Decide the discard rule before cooking begins, not after everyone is tired.
- Re-check official sources when cooking for high-risk people or large groups.
Why this page exists
Many food-safety articles repeat the same four words—clean, separate, cook, chill—without showing the handoffs where people actually fail. CookNest Daily articles now include the handoff: what to measure, what to separate, what to label, and what to discard. That is the value this page adds for readers preparing a real meal.