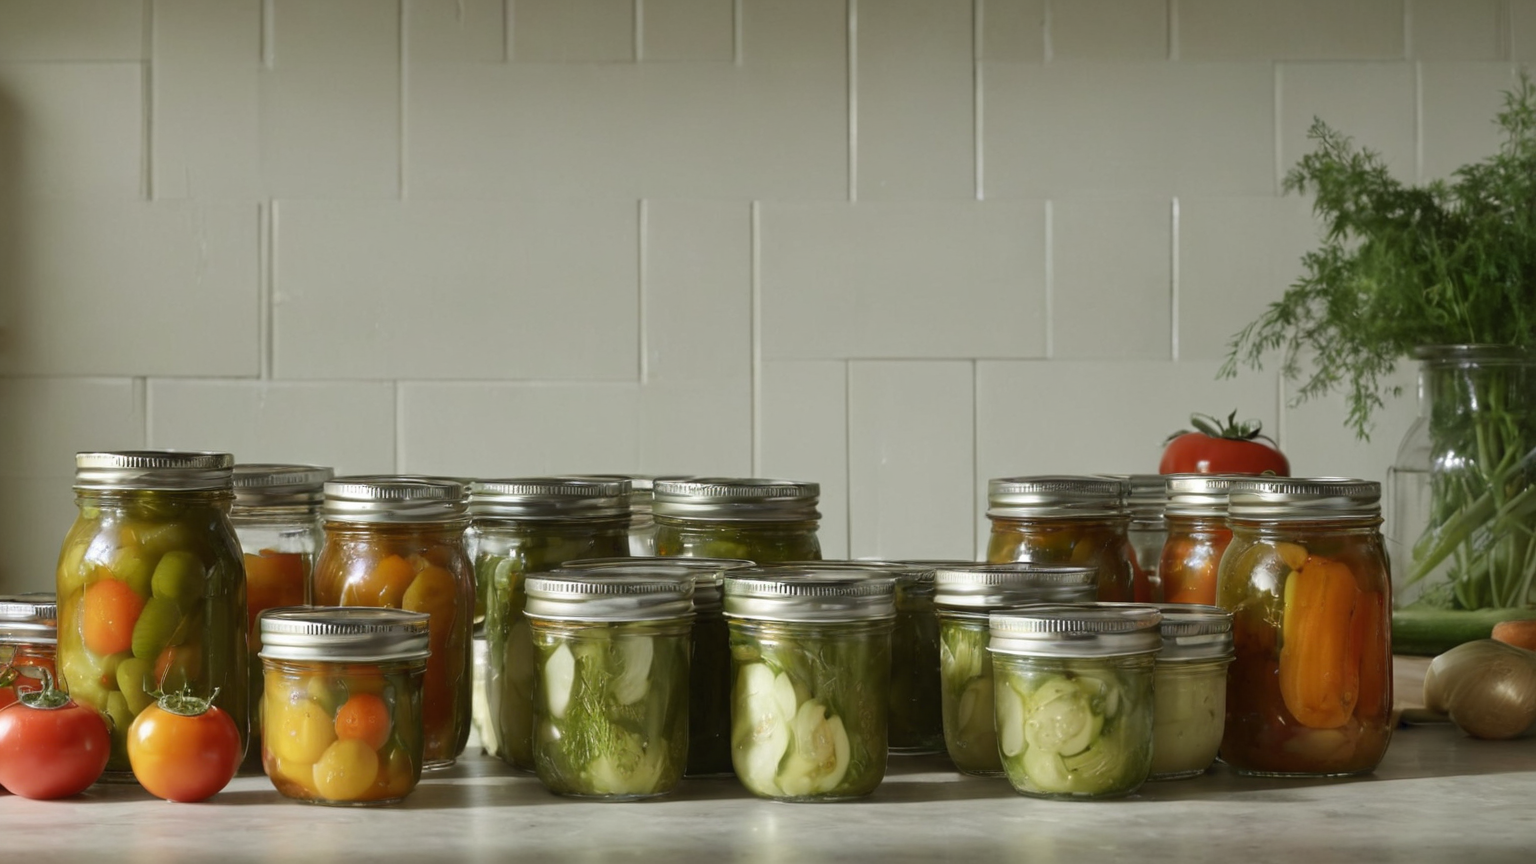
Home Canning Safety Tested Recipe Checklist
A 2026 home-canning safety checklist for tested recipes, jar prep, pressure canning, altitude adjustments, seals, storage, and botulism risk.
Safety fact check included
CookNest Daily articles surface source counts, timing assumptions, kitchen-test notes, and food-safety caveats. This label means editorial safety review, not a substitute for local food-code or medical guidance.
Home canning is not a place for improvising processing times, jar sizes, or acidity. This guide was checked on 2026-06-05 against the listed official and authoritative sources. It is designed as a practical decision aid: confirm current conditions, choose the lower-risk option, document what you actually did, and stop before a rushed shortcut turns a small problem into a safety issue.
Quick decision table
| Situation | Safer choice | Mistake to avoid |
|---|---|---|
| Low-acid vegetables | Pressure can with tested recipe | Using a water bath because jars sealed |
| Changed ingredients | Find a tested version | Guessing acidity or time |
| Higher altitude | Adjust pressure or time as directed | Copying sea-level instructions |
| Seal failed | Refrigerate, freeze, or reprocess by guidance | Storing it because it looks fine |
1. Start with the non-negotiable rule
Use a current tested recipe from an authoritative source and do not change processing method, jar size, pressure, acidity, or time unless the source explicitly allows it. A useful plan names the line you will not cross before the day becomes busy. That line may be a symptom stop rule, a tested-recipe rule, an evacuation trigger, or a product-label limit. Write it down, share it with the person affected, and make the safe option easier than the risky one.
The reason this matters for AdSense and reader trust is simple: a high-quality article should reduce harm, not merely collect keywords. The page gives practical steps, points to primary sources, and avoids pretending that one generic checklist fits every home, road, kitchen, or body.
2. Build the setup before you need it
Print or save the tested recipe, verify jar size and altitude adjustment, inspect jars and lids, prepare the correct canner, and keep a clean workspace that separates raw produce from finished sealed jars. Put the supplies, app links, contacts, and labels in the place where the decision happens. If the plan depends on memory, it will fail when heat, fatigue, hunger, traffic, or family logistics pile up. If the plan is visible and simple, it can protect you even on a messy day.
Use a two-minute rehearsal: open the official source, walk through the choice, and ask what would make you ignore it. Then remove that friction. Examples include keeping a blank thermometer probe clean and ready, saving an official alert page, placing sun protection by shoes, or keeping evacuation fuel above a preset level.
3. Use a checklist, not vibes
- Use tested recipes from Extension, USDA, or the National Center for Home Food Preservation.
- Pressure-can low-acid foods; do not substitute boiling-water canning.
- Adjust for altitude exactly as instructed.
- Check seals after cooling and refrigerate or reprocess failures safely.
- Discard unsafe jars; never taste food to decide if botulism risk is present.
A checklist should be short enough to use and specific enough to catch errors. Put the highest-risk items first, then add a fallback. If one item fails, do not average it with the others. A single failed safety item is a reason to pause, change the plan, or get qualified help.
Common failure modes
| Failure mode | Why it happens | Repair |
|---|---|---|
| The source is old or local conditions changed | People rely on memory | Re-check the official page the same day |
| The setup is inconvenient | The safer action takes longer | Move the tool or supply to the decision point |
| A number is guessed | Labels, alerts, or temperatures are not verified | Use the current source or an actual measurement |
| The plan ignores vulnerable people | Generic advice misses medical, age, disability, pet, or housing constraints | Choose the stricter limit and ask for qualified help |
4. Decide what to document
Record recipe source, date, jar size, processing time, pressure, altitude adjustment, and any seal failures. Documentation does not need to be complicated. Record the date, condition checked, choice made, and anything you would change next time. That note helps you improve the system without pretending you will remember every detail a week later.
For readers, this is also a trust signal: the article separates fixed principles from current facts, cites the source list, and tells you what to verify rather than hiding uncertainty. That preserves future AdSense readiness by keeping the content helpful, policy-safe, and user-first.
Final checklist
- Choose the tested recipe first.
- Match equipment and jar size.
- Adjust for altitude.
- Process for the full required time.
- Cool, check seals, label, and store safely.
FAQ summary
Safe home canning depends on tested recipes, correct equipment, altitude adjustments, seal checks, and conservative discard decisions. The safest version is usually not the most dramatic version; it is the one you can repeat consistently while checking current official guidance and respecting personal limits.
2026 AdSense quality update: how to use this guide in a real kitchen
This section was added on 2026-06-26 after a sitewide quality review. The goal is to make Home Canning Safety Tested Recipe Checklist more useful than a short reminder list: it should help a reader decide what to do, what to measure, and when to stop. For this topic, the main risk is that home-canned foods have special botulism and acidity risks that cannot be solved by taste or appearance. The safe response is not a vague promise to “be careful”; it is to use tested recipes, the correct canner, elevation adjustments, and jar inspection, and discard jars with leakage, swelling, spurting, or off odors.
Use the guide as a kitchen workflow, not as medical advice. If someone is already ill, has a high-risk immune status, is pregnant, is an older adult, or is feeding young children, use official food-safety guidance and professional medical advice rather than experimenting with borderline food.
Decision workflow for home preservation
| Checkpoint | What to verify | Safer default | Evidence to keep |
|---|---|---|---|
| Before cooking | Is the ingredient cold, separated, and within date? | Start with clean hands, a clean board, and a clean tool set. | Package date, refrigerator temperature, or shopping time. |
| During prep | Can raw juices or dirty water reach ready-to-eat food? | Separate raw, cooked, and produce zones before the counter gets busy. | Which board, knife, plate, and towel were used. |
| During cooking or holding | Is there a measurable temperature or time control? | Use a thermometer, timer, shallow container, or cooler plan instead of memory. | Internal temperature, discard time, or cooling start time. |
| Serving | Will guests open, touch, or move the food repeatedly? | Serve smaller portions and refill from a controlled hot/cold source. | Time the first serving dish left the refrigerator, grill, or oven. |
| Leftovers | Do you know the time and temperature history? | Refrigerate promptly; discard when the history is unclear. | Container label with date and food name. |
| Cleanup | Could residue move to tomorrow’s food? | Wash, sanitize where appropriate, and air-dry before storage. | Tool or surface that needs a second pass. |
Three common failure scenarios
- The schedule slips. Guests arrive late, errands take longer than expected, or a storm changes the plan. When timing changes, reset the food-safety clock instead of stretching it. Move food back to controlled temperature, or write a new discard time.
- The workspace gets crowded. Phones, towels, packaging, pets, and drink cups enter the prep area. Clear one clean landing zone for ready-to-eat food and keep raw-food tools visibly separate.
- A food looks fine but the history is unknown. The dangerous version is inventing processing times, using oven canning, or trusting a family recipe without current tested guidance. Smell, color, and texture are not reliable safety tests. When the time/temperature history is missing, discard the food.
Household checklist
- Put a refrigerator thermometer where it can be seen without moving food.
- Keep at least one instant-read thermometer clean and easy to reach.
- Use shallow containers for dense leftovers and label the date.
- Keep raw-meat boards, produce boards, and serving platters visually different.
- Decide the discard rule before cooking begins, not after everyone is tired.
- Re-check official sources when cooking for high-risk people or large groups.
Why this page exists
Many food-safety articles repeat the same four words—clean, separate, cook, chill—without showing the handoffs where people actually fail. CookNest Daily articles now include the handoff: what to measure, what to separate, what to label, and what to discard. That is the value this page adds for readers preparing a real meal.
Reader worksheet: turn the advice into a one-meal plan
Before applying this article, write a four-line plan on paper or in a kitchen note. The first line is the food and the person responsible. The second line is the measurable control for this preservation workflow: tested recipe, acidity or salt control, processing method, and jar rejection rule. The third line is the moment when the food changes status, such as leaving the refrigerator, reaching the grill, being cut, being packed, or being served. The fourth line is the discard or escalation rule.
That small note matters because most food-safety failures are not caused by ignorance of the rule. They happen when two people assume the other person started the timer, checked the thermometer, separated the platter, or moved the food back to the refrigerator. A written handoff also helps if you are cooking for guests, children, older adults, pregnant people, or anyone with a higher risk from foodborne illness.
For a single-person household, keep the note simpler: date, food, container, and next safe use. For a shared household, add owner and shelf location. For a party or outdoor meal, add the time the food left temperature control and the person allowed to discard it without debate. The goal is to remove social pressure from the decision. If the rule says discard, the host should not need to negotiate with a guest who says it “still looks fine.”
Use this worksheet with the official-source links above. If the official page gives a more specific number for your food, appliance, or situation, follow that source over a generic summary. CookNest Daily intentionally keeps the stop points visible because AdSense-quality food content should help a reader make a safer decision, not just repeat keywords.