Freezer Meal Safety: Thawing, Reheating, and Labeling Without Guesswork
A 2026 practical guide to freezer-meal safety: cooling, labeling, safe thawing methods, reheating, texture fixes, and when to discard leftovers.

Safety fact check included
CookNest Daily articles surface source counts, timing assumptions, kitchen-test notes, and food-safety caveats. This label means editorial safety review, not a substitute for local food-code or medical guidance.
Freezer meals save money and weeknight stress, but the freezer is not a time machine. Food still needs to be cooled, packed, labeled, thawed, and reheated in ways that protect both safety and quality. This guide translates current CDC food-safety guidance checked in May 2026 into a kitchen workflow for soups, casseroles, cooked grains, sauces, and cooked proteins.
The safe freezer-meal chain
| Stage | Do | Avoid |
|---|---|---|
| Cool | Use shallow containers and refrigerate promptly | A deep hot pot sitting out for hours |
| Pack | Leave headspace for expansion | Overfilled glass jars |
| Label | Meal, date, reheating note | Mystery containers |
| Thaw | Refrigerator, cold water, or microwave methods | Countertop thawing |
| Reheat | Heat thoroughly and stir dense foods | Warm edges with cold centers |
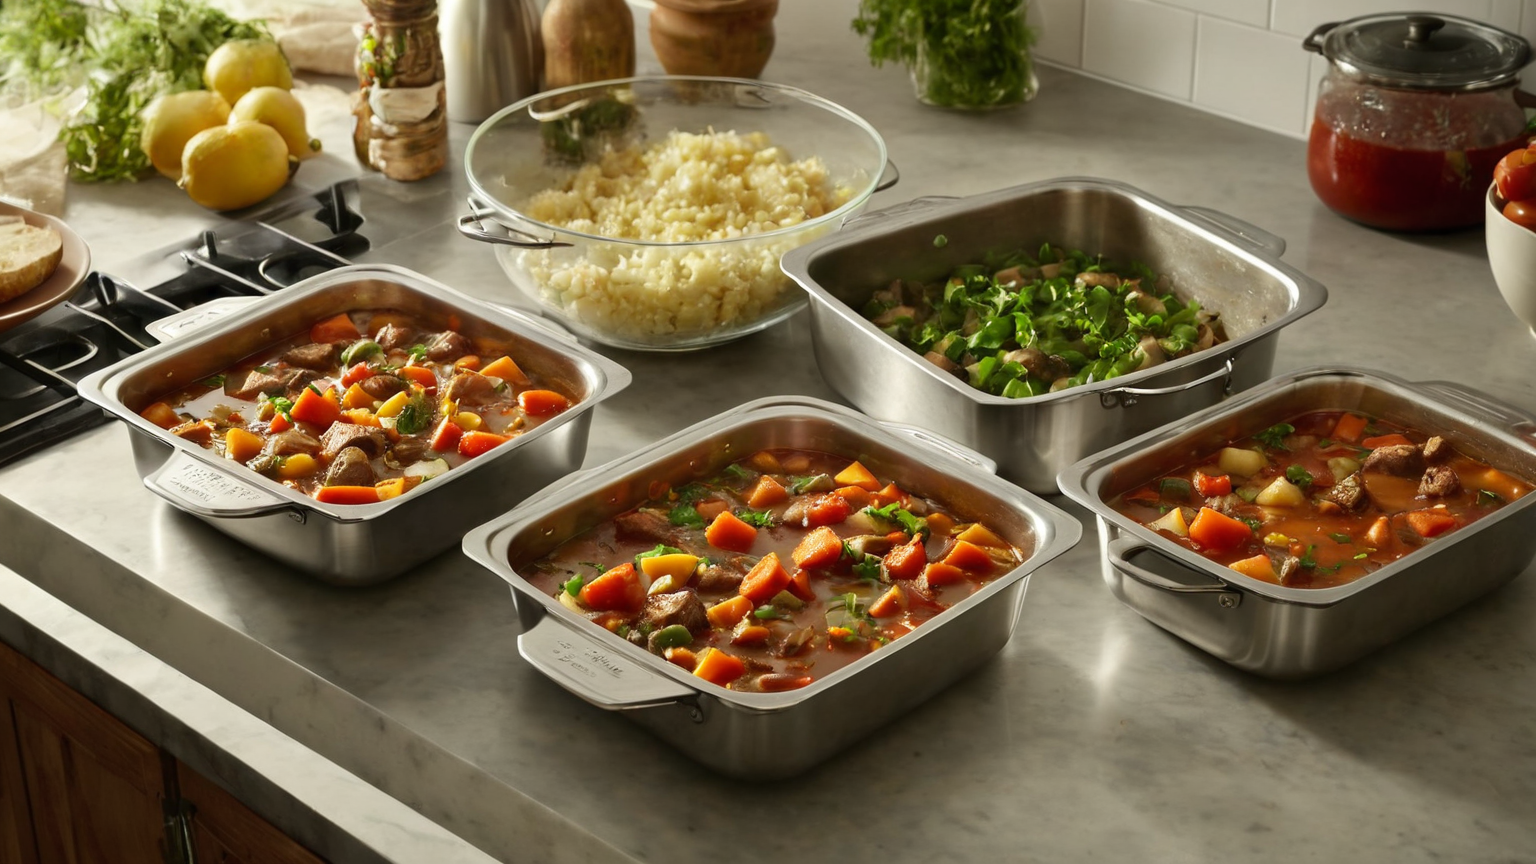
Cool first, freeze second
Large batches should be divided into shallow containers so heat leaves quickly. Vent steam briefly, then refrigerate or freeze according to the plan. If the food is still steaming heavily, a short uncovered cooling period is fine, but do not let a batch become an all-evening countertop project. The safest workflow is boring: smaller containers, clean utensils, fast cold storage.
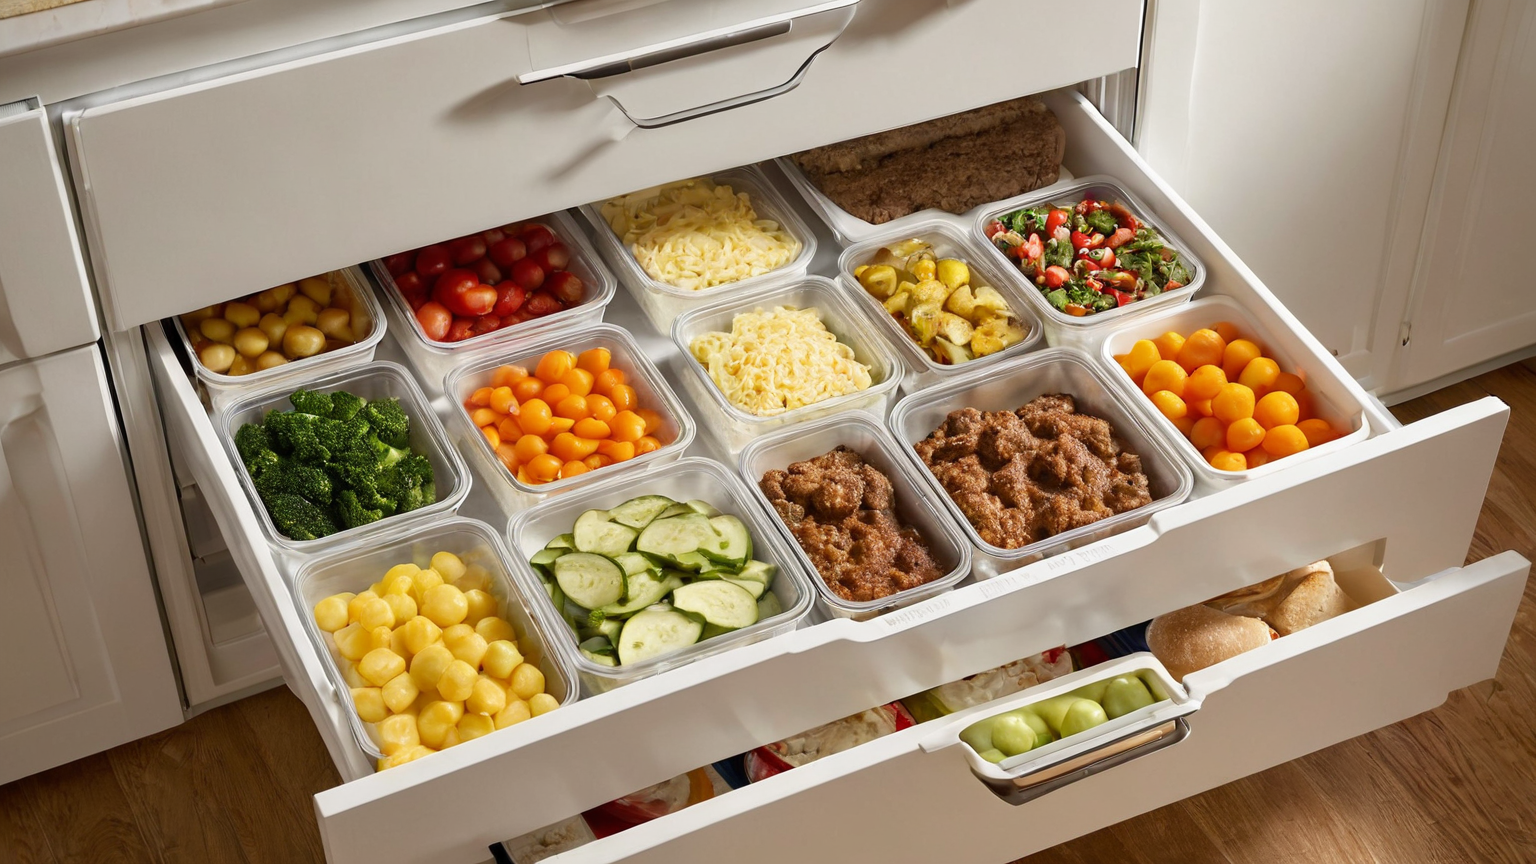
Label for decisions, not decoration
A useful label answers three questions: what is it, when was it frozen, and how should it be reheated? You do not need artistic labels; a freezer-safe marker and blank tape are enough. Put the newest containers behind older ones so the freezer becomes a queue rather than an archive.
Thawing methods ranked
| Method | Best for | Watch-out |
|---|---|---|
| Refrigerator | Most meals, safest planning | Slow; start the day before |
| Cold water | Sealed packages when time is short | Change water and keep food contained |
| Microwave | Immediate reheating | Cook right away after thawing |
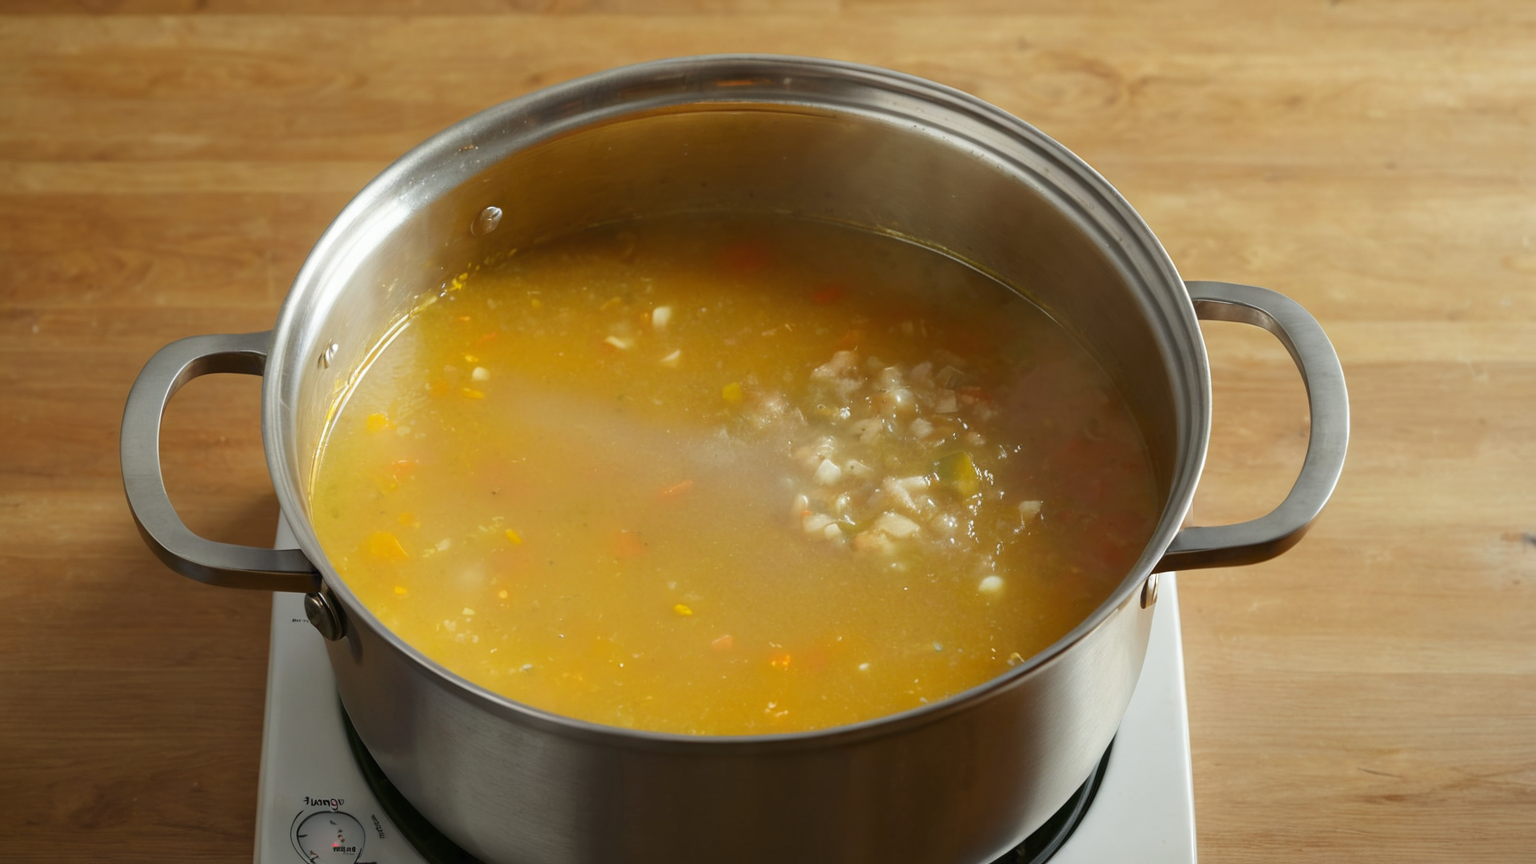
| From frozen | Soups, sauces, small portions | Stir often to avoid cold centers |
Reheat for heat, then fix texture
Texture often suffers because people try to preserve crispness before the food is hot. Reheat thoroughly first, stirring sauces, soups, rice dishes, and casseroles so dense spots catch up. Then fix texture: broil a topping, add a splash of broth, finish rice in a skillet, or add fresh herbs and acid at the end.
What freezes well
Soups, stews, braises, cooked beans, tomato sauces, curry bases, meatballs, shredded chicken, and cooked grains usually perform well. Cream sauces, watery vegetables, fried coatings, and delicate herbs may need a planned refresh. If quality will be poor, freeze the base and add fragile parts after reheating.
Discard decision tree
- Was it left at room temperature too long? Discard.
- Does the container have freezer burn? It may be safe but quality may be poor.
- Does it smell wrong after thawing? Discard.
- Is the label missing and the food unrecognizable? Do not gamble.
- Was it thawed in the microwave? Reheat and eat promptly; do not park it for later.
A weekly freezer audit that prevents mistakes
Once a week, take five minutes to scan the freezer before shopping. Move older meals to the front, group similar foods together, and mark any container that needs a texture rescue such as broth, fresh herbs, toasted crumbs, or a quick skillet finish. This prevents the common failure pattern: cooking another batch while older meals become anonymous blocks of ice. If a container has no date, no clear identity, or a damaged seal, treat it as a quality and safety question rather than a bargain. The point of batch cooking is predictable meals, not guessing contests. Keep a simple note on the freezer door with “eat first” items and reheating reminders so other household members can make the same safe choice without asking.
Bottom line
Good freezer meals are built before they freeze: small containers, clear labels, safe thawing, thorough reheating, and a realistic texture plan. Treat the freezer as a meal-prep tool, not a loophole around food-safety basics.
2026 AdSense quality update: how to use this guide in a real kitchen
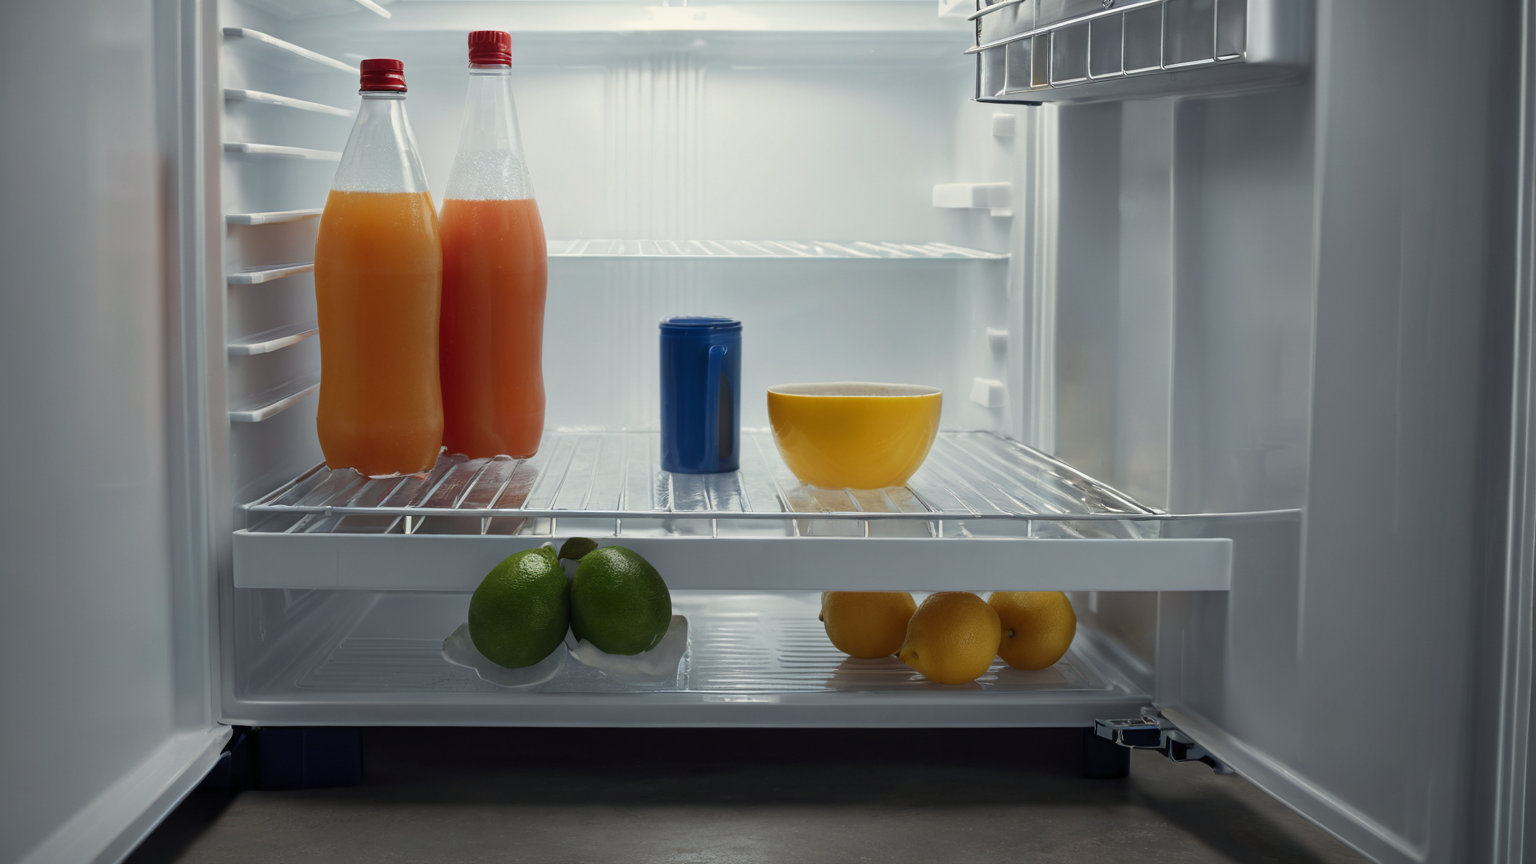
This section was added on 2026-06-26 after a sitewide quality review. The goal is to make Freezer Meal Safety: Thawing, Reheating, and Labeling Without Guesswork more useful than a short reminder list: it should help a reader decide what to do, what to measure, and when to stop. For this topic, the main risk is that refrigerator doors, crowded shelves, outage recovery, and deep containers make temperature history uncertain. The safe response is not a vague promise to “be careful”; it is to use a thermometer, keep 40°F/4°C as the refrigerator target, cool in shallow containers, and discard food when time or temperature is unknown.
Use the guide as a kitchen workflow, not as medical advice. If someone is already ill, has a high-risk immune status, is pregnant, is an older adult, or is feeding young children, use official food-safety guidance and professional medical advice rather than experimenting with borderline food.
Decision workflow for cold storage and leftovers
| Checkpoint | What to verify | Safer default | Evidence to keep |
|---|---|---|---|
| Before cooking | Is the ingredient cold, separated, and within date? | Start with clean hands, a clean board, and a clean tool set. | Package date, refrigerator temperature, or shopping time. |
| During prep | Can raw juices or dirty water reach ready-to-eat food? | Separate raw, cooked, and produce zones before the counter gets busy. | Which board, knife, plate, and towel were used. |
| During cooking or holding | Is there a measurable temperature or time control? | Use a thermometer, timer, shallow container, or cooler plan instead of memory. | Internal temperature, discard time, or cooling start time. |
| Serving | Will guests open, touch, or move the food repeatedly? | Serve smaller portions and refill from a controlled hot/cold source. | Time the first serving dish left the refrigerator, grill, or oven. |
| Leftovers | Do you know the time and temperature history? | Refrigerate promptly; discard when the history is unclear. | Container label with date and food name. |
| Cleanup | Could residue move to tomorrow’s food? | Wash, sanitize where appropriate, and air-dry before storage. | Tool or surface that needs a second pass. |
Three common failure scenarios
- The schedule slips. Guests arrive late, errands take longer than expected, or a storm changes the plan. When timing changes, reset the food-safety clock instead of stretching it. Move food back to controlled temperature, or write a new discard time.
- The workspace gets crowded. Phones, towels, packaging, pets, and drink cups enter the prep area. Clear one clean landing zone for ready-to-eat food and keep raw-food tools visibly separate.
- A food looks fine but the history is unknown. The dangerous version is guessing by smell, relying on a door shelf for fragile foods, or tasting questionable leftovers. Smell, color, and texture are not reliable safety tests. When the time/temperature history is missing, discard the food.
Household checklist
- Put a refrigerator thermometer where it can be seen without moving food.
- Keep at least one instant-read thermometer clean and easy to reach.
- Use shallow containers for dense leftovers and label the date.
- Keep raw-meat boards, produce boards, and serving platters visually different.
- Decide the discard rule before cooking begins, not after everyone is tired.
- Re-check official sources when cooking for high-risk people or large groups.
Why this page exists
Many food-safety articles repeat the same four words—clean, separate, cook, chill—without showing the handoffs where people actually fail. CookNest Daily articles now include the handoff: what to measure, what to separate, what to label, and what to discard. That is the value this page adds for readers preparing a real meal.
Reader worksheet: turn the advice into a one-meal plan
Before applying this article, write a four-line plan on paper or in a kitchen note. The first line is the food and the person responsible. The second line is the measurable control for this cold-chain workflow: appliance thermometer reading, container depth, cooling start time, and discard rule. The third line is the moment when the food changes status, such as leaving the refrigerator, reaching the grill, being cut, being packed, or being served. The fourth line is the discard or escalation rule.
That small note matters because most food-safety failures are not caused by ignorance of the rule. They happen when two people assume the other person started the timer, checked the thermometer, separated the platter, or moved the food back to the refrigerator. A written handoff also helps if you are cooking for guests, children, older adults, pregnant people, or anyone with a higher risk from foodborne illness.
For a single-person household, keep the note simpler: date, food, container, and next safe use. For a shared household, add owner and shelf location. For a party or outdoor meal, add the time the food left temperature control and the person allowed to discard it without debate. The goal is to remove social pressure from the decision. If the rule says discard, the host should not need to negotiate with a guest who says it “still looks fine.”
Use this worksheet with the official-source links above. If the official page gives a more specific number for your food, appliance, or situation, follow that source over a generic summary. CookNest Daily intentionally keeps the stop points visible because AdSense-quality food content should help a reader make a safer decision, not just repeat keywords.