Spatchcock Chicken — 2026 Tested Roasting Method
Spatchcocking a whole chicken cuts roasting time by 30 percent and produces uniformly crisp skin. Here is the technique, temperature targets, and tools that work.
Safety fact check included
CookNest Daily articles surface source counts, timing assumptions, kitchen-test notes, and food-safety caveats. This label means editorial safety review, not a substitute for local food-code or medical guidance.
The spatchcock chicken became the home cook’s roast chicken upgrade between 2015 and 2025. The technique addresses the central problem of traditional whole-chicken roasting — the breast cooks faster than the thigh, leaving cooks to choose between dry breast or undercooked thigh. Spatchcocking flattens the bird so all parts reach finishing temperature simultaneously while reducing total roasting time by 30 percent.
This article explains the technique step by step, identifies the tools that actually work, and provides the temperature and timing data that determines whether the chicken comes out juicy or dry. The conclusion is that spatchcocking has become the default home roast method for good reason — it produces better, faster results than any traditional truss-and-roast technique.
- The spatchcock cut step by step
- Dry-brining for crisp skin and seasoned meat
- Temperature targets and the safety margin
- Pan selection and rack setup
- Tool picks across $25-130 budget range
The spatchcock cut
Spatchcocking takes 30-60 seconds with the right tool. The technique:
-
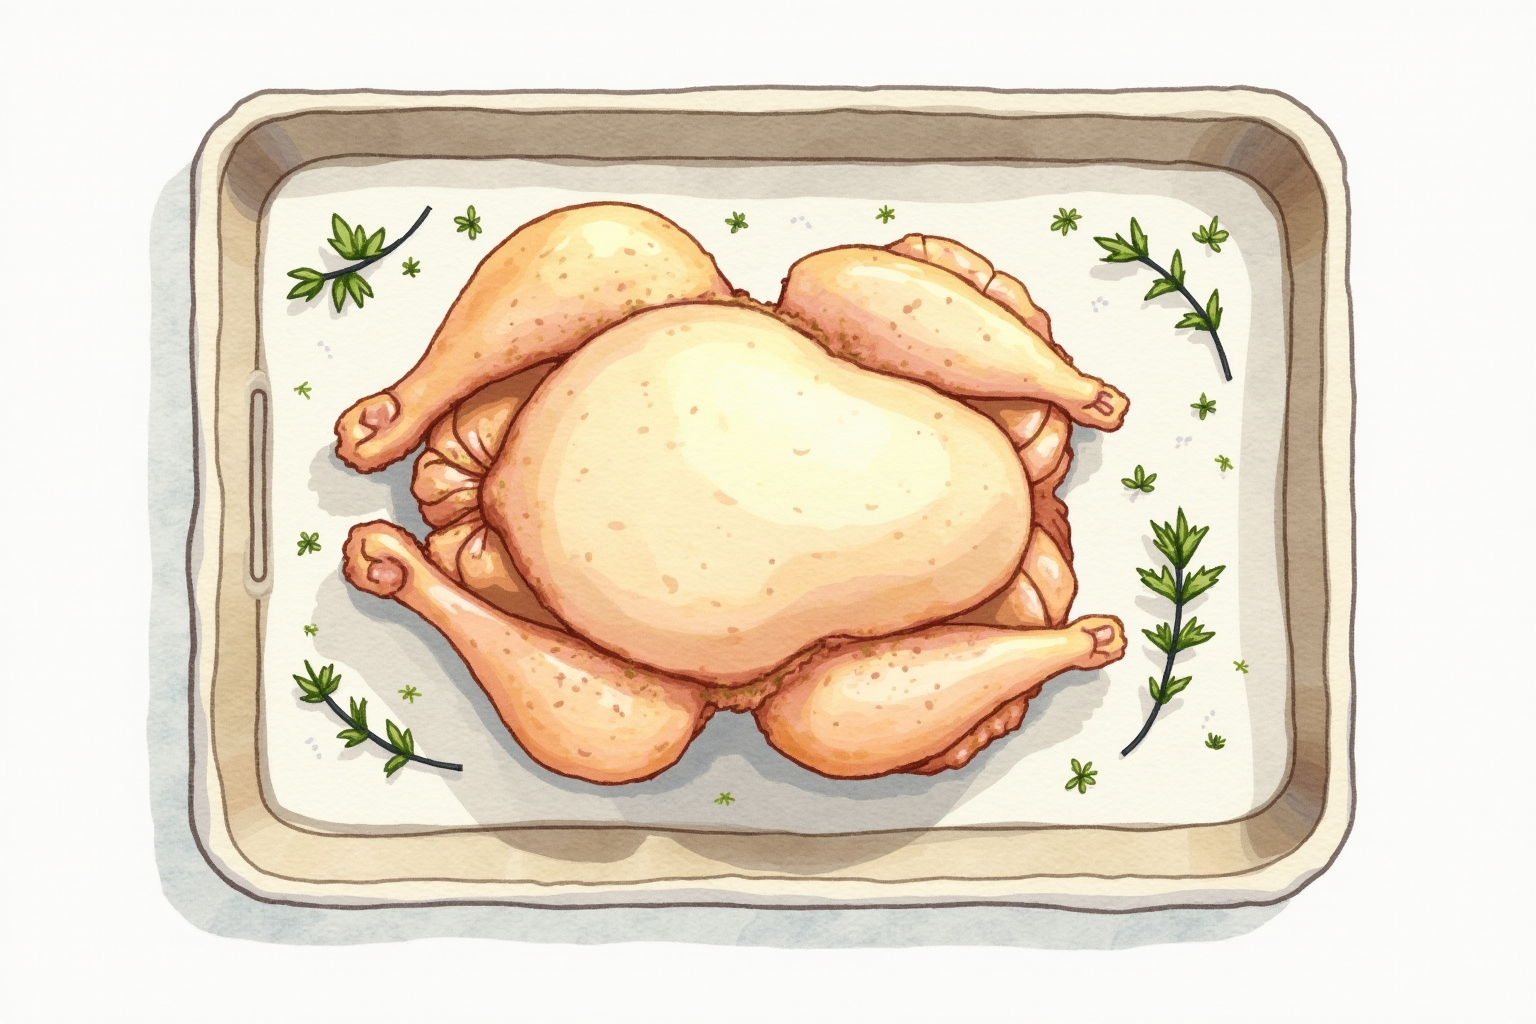
Place the chicken breast-side down on a cutting board. The backbone runs along the center, between the two thighs.
-
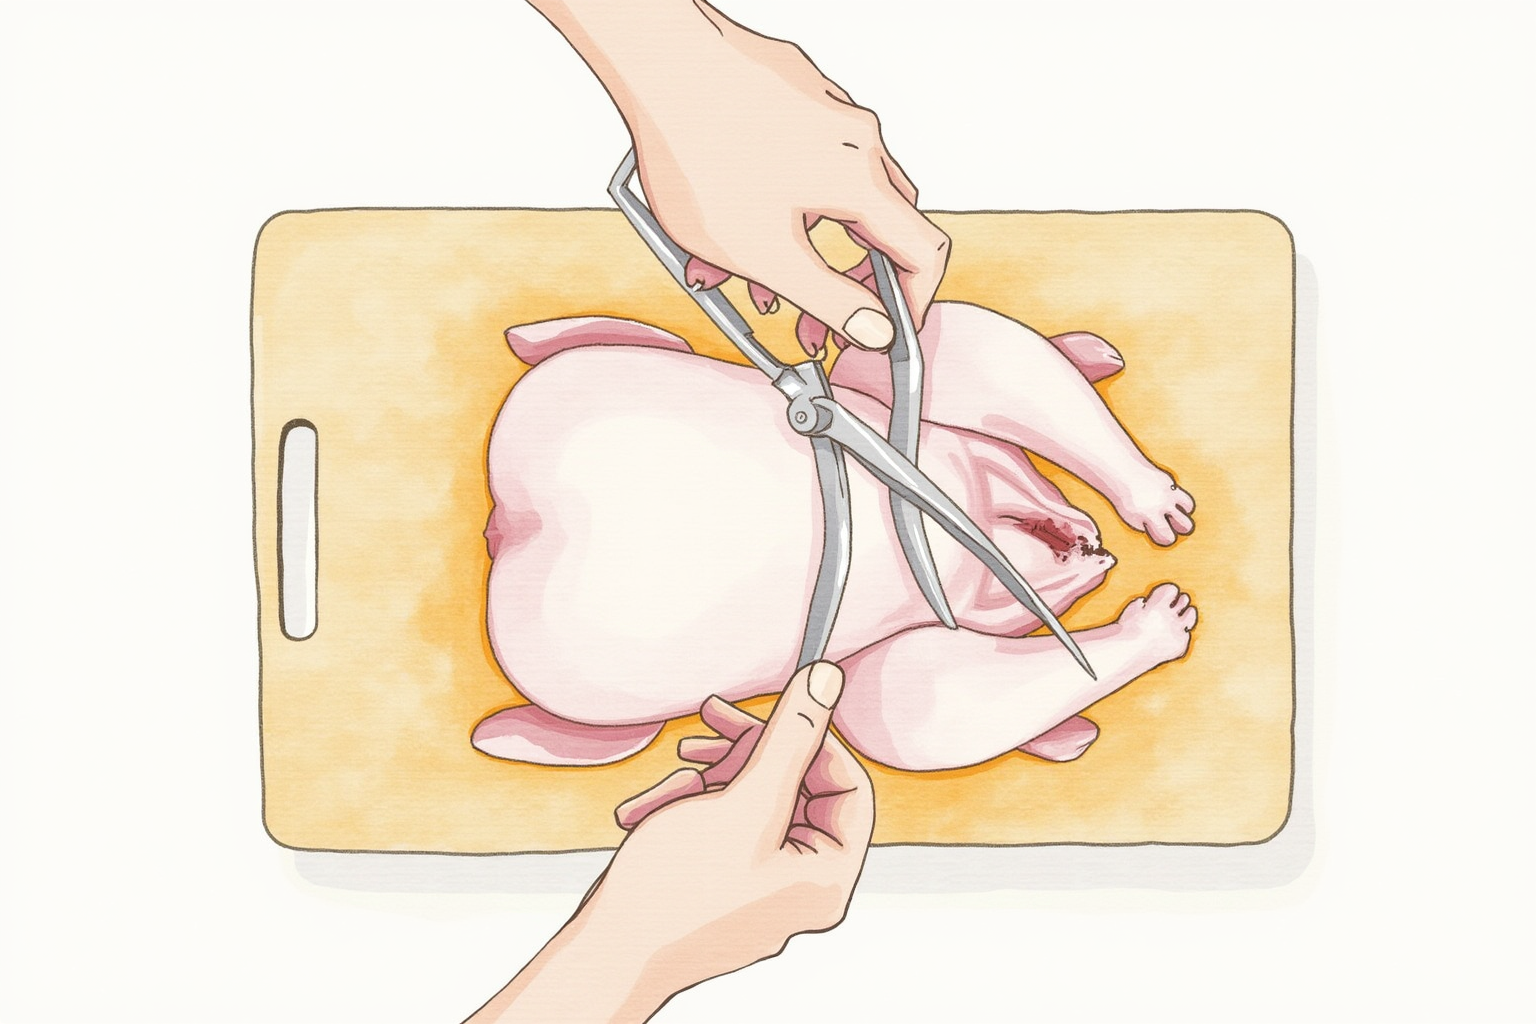
Cut along one side of the backbone using kitchen shears. Start from the tail end, cut up along the spine to the neck. The cut goes through ribs but stays close to the backbone.
-
Cut along the other side of the backbone the same way. The backbone now lifts off cleanly. Save it for stock.
-
Flip the chicken breast-side up. Place both palms over the breast and press down firmly to crack the breastbone. The bird flattens completely. You should hear the breastbone snap audibly.
-
The bird is now spatchcocked. Pat dry with paper towels and proceed with salting or seasoning.
The first time takes 2-3 minutes including hesitation. By the third time, the whole process is under a minute. The bone work feels unfamiliar at first but the shears do most of the cutting effort.
Dry-brining for crisp skin
The most under-discussed variable in roast chicken is moisture management. Crisp skin requires dry skin going into the oven. Moisture on the surface boils off during the first 10-15 minutes of roasting and prevents proper Maillard browning.
Dry-brine protocol:
- Salt the chicken at 0.75-1% of weight (about 1 teaspoon kosher salt per pound).
- Place on a rack over a sheet pan in the refrigerator, uncovered.
- Hold for 12-24 hours.
During this time, salt dissolves into the chicken (seasoning the meat throughout) and the refrigerated airflow evaporates surface moisture. The skin becomes papery dry — visibly different from a fresh-from-package chicken.
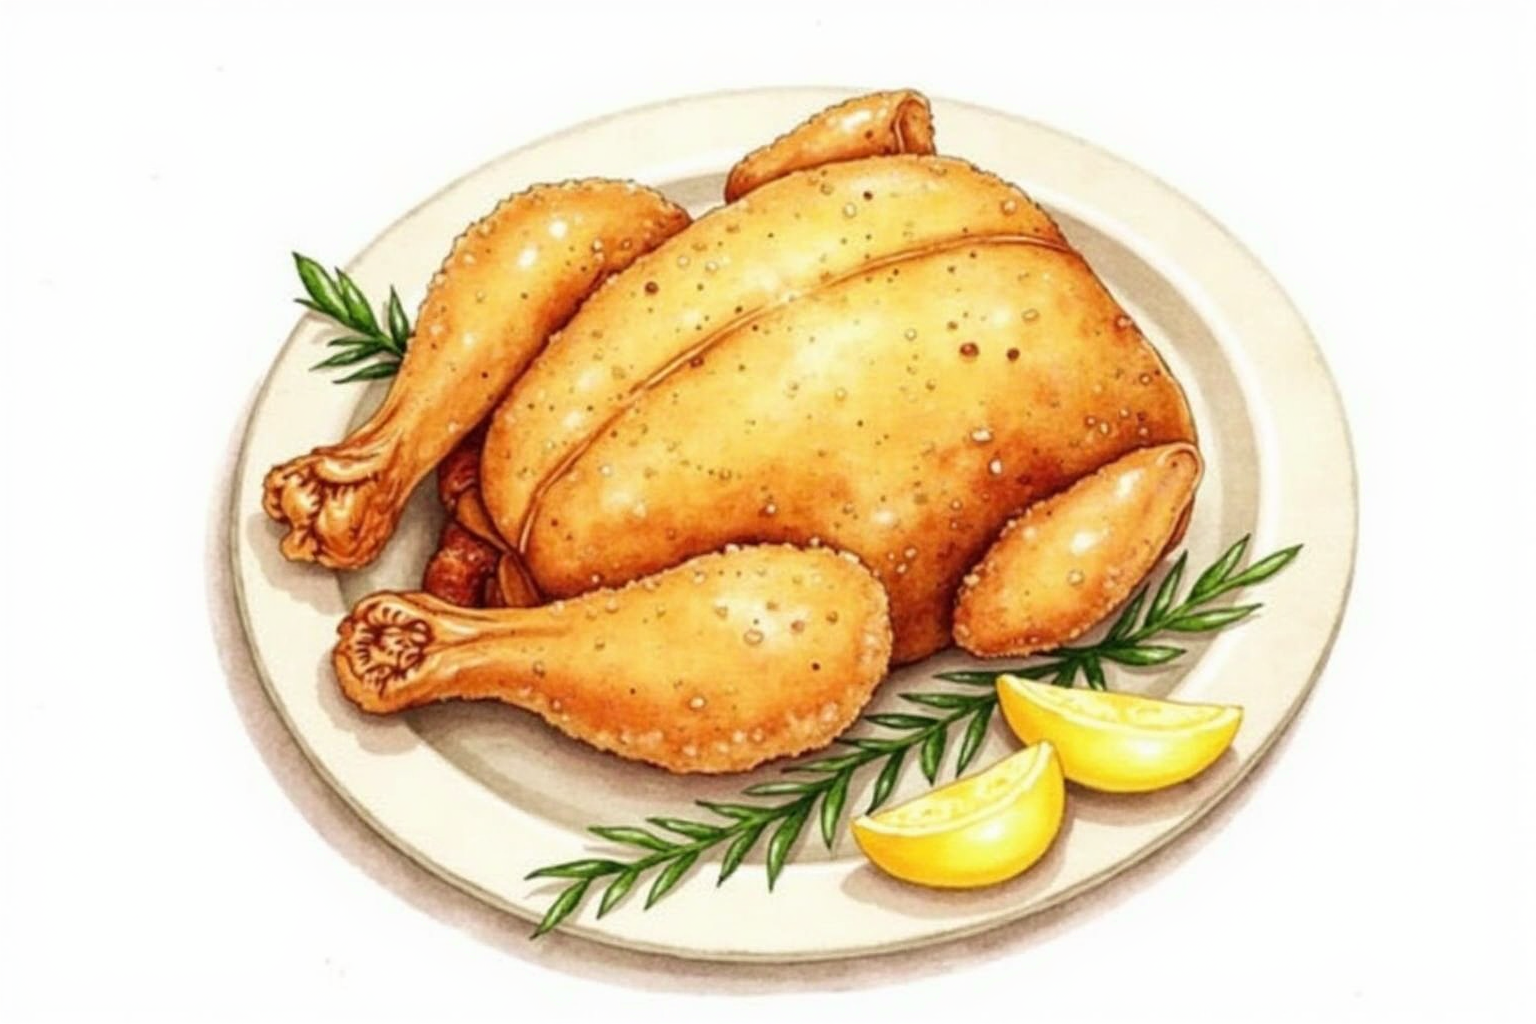
When the dry-brined bird hits the hot oven, the dry skin starts browning immediately rather than steaming. The result: dramatically crisper, more deeply golden skin.
If 12-24 hours isn’t available, even a 1-hour dry-brine helps. The 24-hour version is the gold standard but partial helps proportionally.
Temperature targets and safety margin
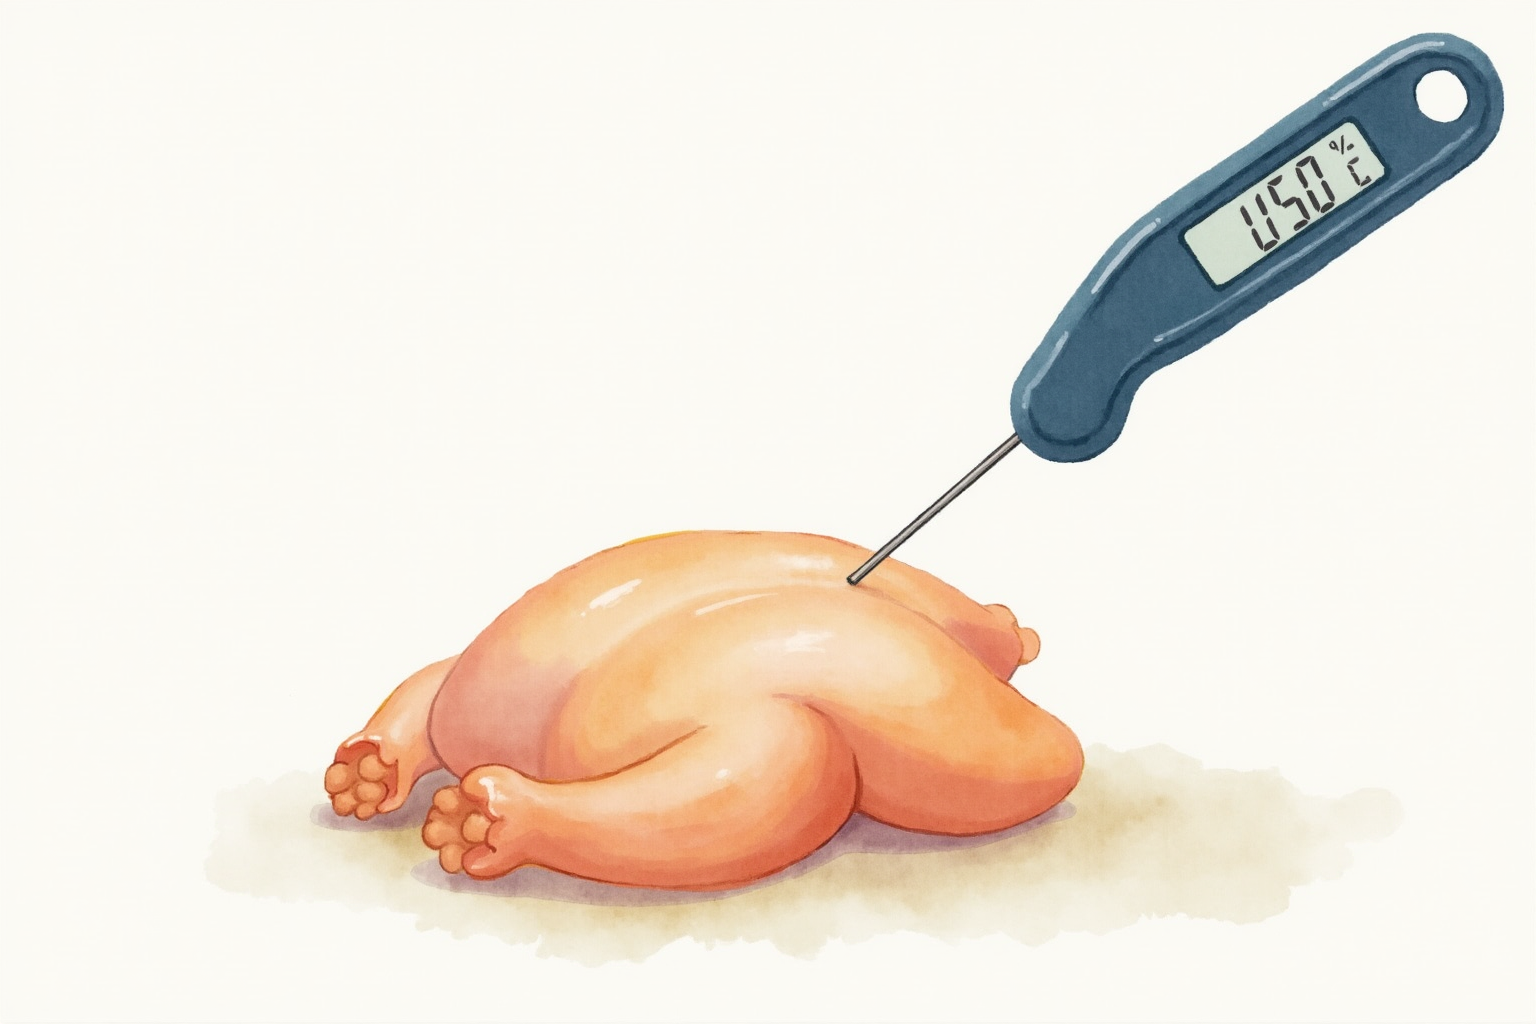
USDA guideline: chicken is safe at 165°F (74°C) in the thickest part of the thigh.
Many professional kitchens target 160°F (71°C) and pull the bird, knowing that carryover heat will bring it to 165°F during the 10-15 minute rest. This produces slightly juicier meat than holding at 165°F for the full duration.
Temperature checkpoints:
- 145°F: still pink, undercooked, unsafe
- 155°F: thigh meat still firm, almost done
- 160°F: pull point for pro chefs (carryover brings to 165°F)
- 165°F: USDA safe finish, juicy
- 170°F: starting to dry slightly
- 175°F+: dry, overcooked
Measure in the right place: the thickest part of the thigh, near the bone but not touching it. The thigh runs cooler than the breast in a spatchcocked bird because of the bone mass; the thigh is the limiting temperature for safety.
Use an instant-read thermometer. The ThermoWorks Thermapen ONE reads in 1 second; cheaper thermometers take 10-15 seconds. Visual cues (clear juices, leg movement) are unreliable for poultry — invest in a thermometer.
Pan and rack setup
The spatchcocked bird benefits from a rack over a rimmed sheet pan, which lifts the chicken off the surface and lets hot air circulate underneath. This produces uniformly crisp skin on all sides.
Setup that works:
- Half-sheet pan (13x18 inches): fits most chickens (3-5 lbs)
- Wire rack: the kind designed for cooling cookies works well
- Foil-lined pan below: catches drippings for pan sauce
For chickens under 4 lbs, a 10-12 inch cast iron skillet also works and produces extra-crisp skin in the spots where the chicken contacts the iron.
Avoid: glass roasting pans (warp at 425°F), uncoated aluminum pans (react with salty drippings), or pans without a rack (steam pools under the bird and prevents bottom-skin crisping).
Top picks across budgets
Wüsthof Kitchen Shears (Take-Apart)
Price · $45-65 — best premium kitchen shears
+ Pros
- · German forged steel handles poultry bones effortlessly
- · Take-apart design enables thorough cleaning
- · Lifetime durability with proper care
− Cons
- · Premium price reflects Wüsthof brand
- · Bulky storage compared to lighter shears
Price, availability, and ratings can change; verify details on the retailer page before buying.
ThermoWorks Thermapen ONE Instant-Read
Price · $105-115 — best thermometer pick
+ Pros
- · 1-second reading time vs 10-15 seconds for cheaper thermometers
- · Accurate to ±0.5°F across the cooking range
- · Waterproof and built for kitchen abuse
− Cons
- · Premium price for a single-use thermometer
- · Replacement battery every 3000+ readings (rare maintenance)
Price, availability, and ratings can change; verify details on the retailer page before buying.
Nordic Ware Naturals Half Sheet Pan with Rack
Price · $30-45 — best sheet pan + rack combo
+ Pros
- · Heavy aluminum doesn't warp at 425°F+ oven temperatures
- · Wire rack fits the pan exactly for elevated chicken setup
- · Made in U.S. with decades of brand reliability
− Cons
- · Aluminum reacts slightly with acidic ingredients (line with foil for tomato dishes)
- · Hand-wash only — dishwasher damages the finish over time
Price, availability, and ratings can change; verify details on the retailer page before buying.
The buying decision
For home cooks who roast chicken weekly or more, the combination of Wüsthof shears ($45-65), ThermoWorks Thermapen ONE ($105-115), and Nordic Ware sheet pan with rack ($30-45) totals $180-225 — a one-time investment that improves not just roast chicken but every poultry, fish, and roasting task in the kitchen for years to come.
For occasional roast chicken (monthly), OXO Good Grips Kitchen Shears at $20-25 substitute well for Wüsthof. The ThermoWorks Classic Thermapen Mk4 at $80-95 substitutes well for the premium ONE. The total budget for the substitution tier is around $130-160.
For budget setups, any sturdy kitchen shears ($15-25) plus a $25-35 instant-read thermometer (Lavatools Javelin, Habor) handles the technique adequately. The temperature reading takes 10-15 seconds instead of 1-2, but the result is the same.
Avoid spatchcocking without a thermometer. The technique’s main benefit — uniform doneness — depends on actually measuring doneness. Visual cues alone produce inconsistent results.
The spatchcock method is the highest-leverage roast chicken upgrade. Once mastered, it becomes the default — faster, more consistent, and more flavorful than any traditional truss-and-roast. The tools pay for themselves in better chicken within the first few weekends.
2026 AdSense quality update: how to use this guide in a real kitchen
This section was added on 2026-06-26 after a sitewide quality review. The goal is to make Spatchcock Chicken — 2026 Tested Roasting Method more useful than a short reminder list: it should help a reader decide what to do, what to measure, and when to stop. For this topic, the main risk is that raw juices, marinades, tongs, platters, and thermometer probes can move bacteria to ready-to-eat food. The safe response is not a vague promise to “be careful”; it is to separate raw and cooked equipment, verify doneness with a thermometer, and clean the probe and work area between foods.
Use the guide as a kitchen workflow, not as medical advice. If someone is already ill, has a high-risk immune status, is pregnant, is an older adult, or is feeding young children, use official food-safety guidance and professional medical advice rather than experimenting with borderline food.
Decision workflow for raw meat and high-heat cooking
| Checkpoint | What to verify | Safer default | Evidence to keep |
|---|---|---|---|
| Before cooking | Is the ingredient cold, separated, and within date? | Start with clean hands, a clean board, and a clean tool set. | Package date, refrigerator temperature, or shopping time. |
| During prep | Can raw juices or dirty water reach ready-to-eat food? | Separate raw, cooked, and produce zones before the counter gets busy. | Which board, knife, plate, and towel were used. |
| During cooking or holding | Is there a measurable temperature or time control? | Use a thermometer, timer, shallow container, or cooler plan instead of memory. | Internal temperature, discard time, or cooling start time. |
| Serving | Will guests open, touch, or move the food repeatedly? | Serve smaller portions and refill from a controlled hot/cold source. | Time the first serving dish left the refrigerator, grill, or oven. |
| Leftovers | Do you know the time and temperature history? | Refrigerate promptly; discard when the history is unclear. | Container label with date and food name. |
| Cleanup | Could residue move to tomorrow’s food? | Wash, sanitize where appropriate, and air-dry before storage. | Tool or surface that needs a second pass. |
Three common failure scenarios
- The schedule slips. Guests arrive late, errands take longer than expected, or a storm changes the plan. When timing changes, reset the food-safety clock instead of stretching it. Move food back to controlled temperature, or write a new discard time.
- The workspace gets crowded. Phones, towels, packaging, pets, and drink cups enter the prep area. Clear one clean landing zone for ready-to-eat food and keep raw-food tools visibly separate.
- A food looks fine but the history is unknown. The dangerous version is color-based doneness, one platter for raw and cooked food, or reusing marinade as sauce. Smell, color, and texture are not reliable safety tests. When the time/temperature history is missing, discard the food.
Household checklist
- Put a refrigerator thermometer where it can be seen without moving food.
- Keep at least one instant-read thermometer clean and easy to reach.
- Use shallow containers for dense leftovers and label the date.
- Keep raw-meat boards, produce boards, and serving platters visually different.
- Decide the discard rule before cooking begins, not after everyone is tired.
- Re-check official sources when cooking for high-risk people or large groups.
Why this page exists
Many food-safety articles repeat the same four words—clean, separate, cook, chill—without showing the handoffs where people actually fail. CookNest Daily articles now include the handoff: what to measure, what to separate, what to label, and what to discard. That is the value this page adds for readers preparing a real meal.