Mason Jar Fermentation — Temperature and Timing Guide (2026)
Lactic acid fermentation works best at 65-75 degrees Fahrenheit. Mason jar setup, salt ratios, and the timing windows for sauerkraut, kimchi, and pickles.
Safety fact check included
CookNest Daily articles surface source counts, timing assumptions, kitchen-test notes, and food-safety caveats. This label means editorial safety review, not a substitute for local food-code or medical guidance.
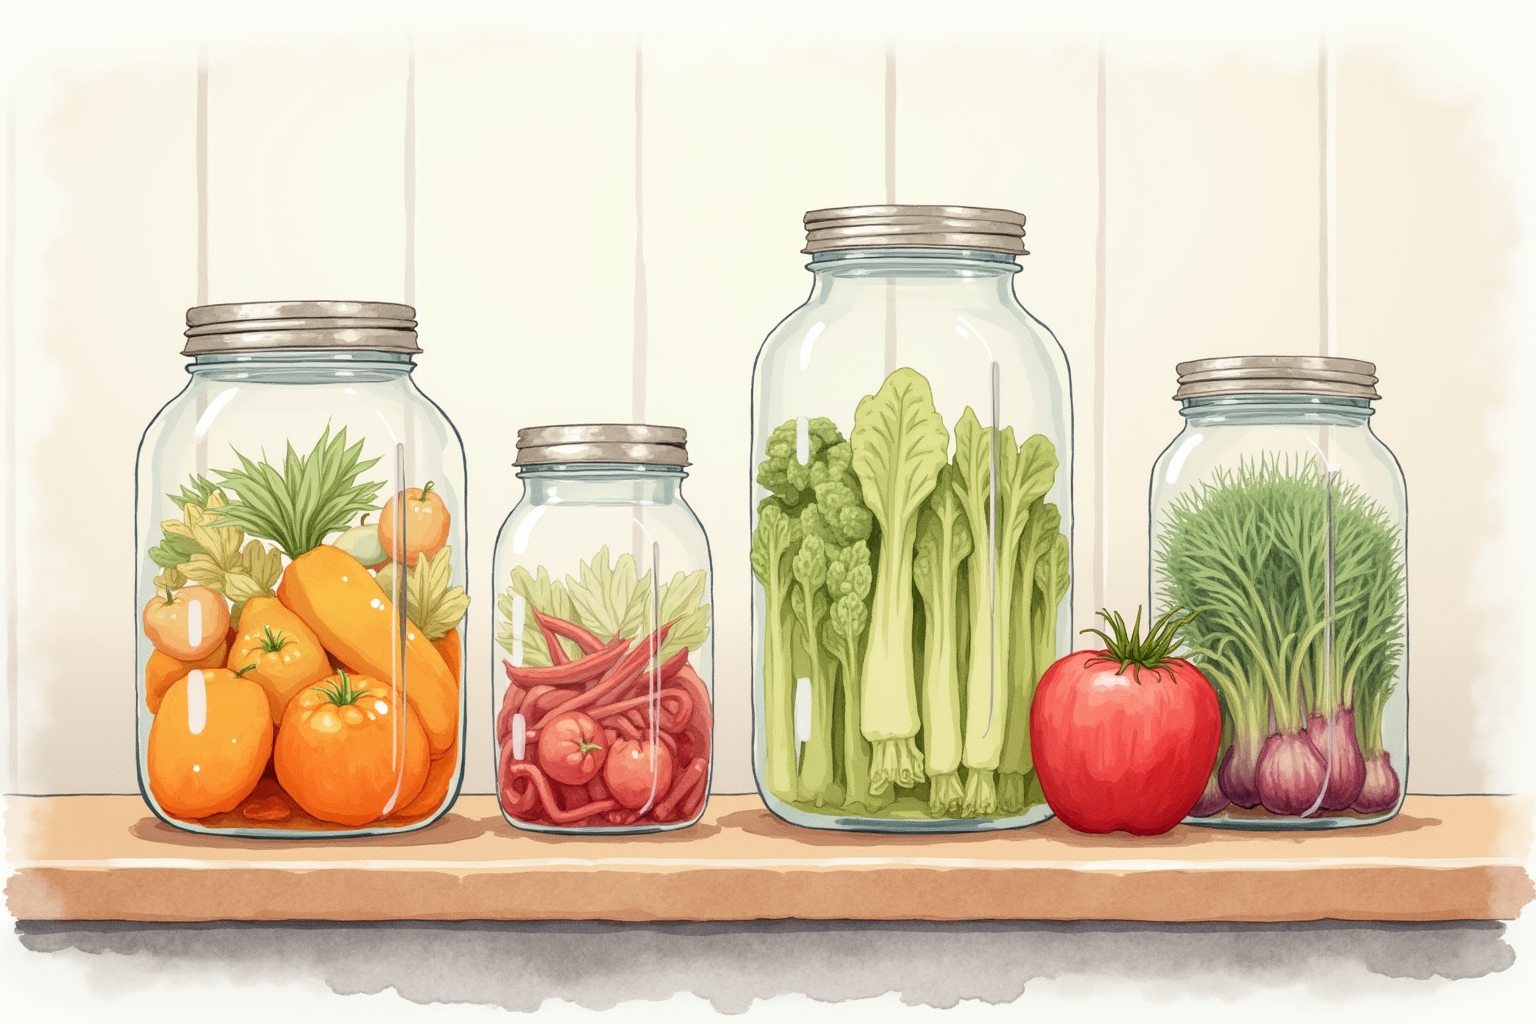
Fermenting vegetables at home produces flavors and probiotic benefits that store-bought sauerkraut and kimchi cannot match. The technique is ancient (5000+ years in many cultures) and forgiving — the salt environment and CO2 production naturally protect against spoilage organisms. With Mason jars and the right temperature, any home cook can produce restaurant-quality fermented vegetables in 5-14 days.
This article explains the science of lactic acid fermentation, provides specific salt and timing guidelines for common ferments, and identifies the equipment that makes the process consistent. The conclusion is that home fermentation is approachable, inexpensive, and produces results that justify the modest equipment investment.
- The lactic acid bacteria fermentation process
- Temperature ranges that produce reliable results
- Salt percentages by ferment type
- Airlock systems and burping protocols
- Top picks for fermentation equipment
The lactic acid bacteria process
Vegetables come with naturally occurring lactic acid bacteria (LAB) on their surfaces — primarily Leuconostoc, Lactobacillus, and Pediococcus species. These bacteria are salt-tolerant; most other microorganisms (yeasts, molds, harmful bacteria) are not.
The fermentation process:
- Submerge vegetables in salted brine (2-3% salt by weight). The salt inhibits most bacteria while allowing LAB to flourish.
- LAB consume sugars in the vegetables and produce lactic acid as a byproduct.
- pH drops as lactic acid accumulates. The drop from neutral pH 7 to acidic pH 3-4 occurs over 5-14 days.
- Below pH 4.5, the environment is too acidic for spoilage organisms. The vegetables are now safe even at room temperature.
- CO2 production during fermentation creates the characteristic bubbling and slight effervescence.
The end result is fermented vegetables with:
- Tart, complex sour flavor
- Crisp texture (vegetables retain structure)
- Live probiotic cultures (1-100 billion CFU per serving)
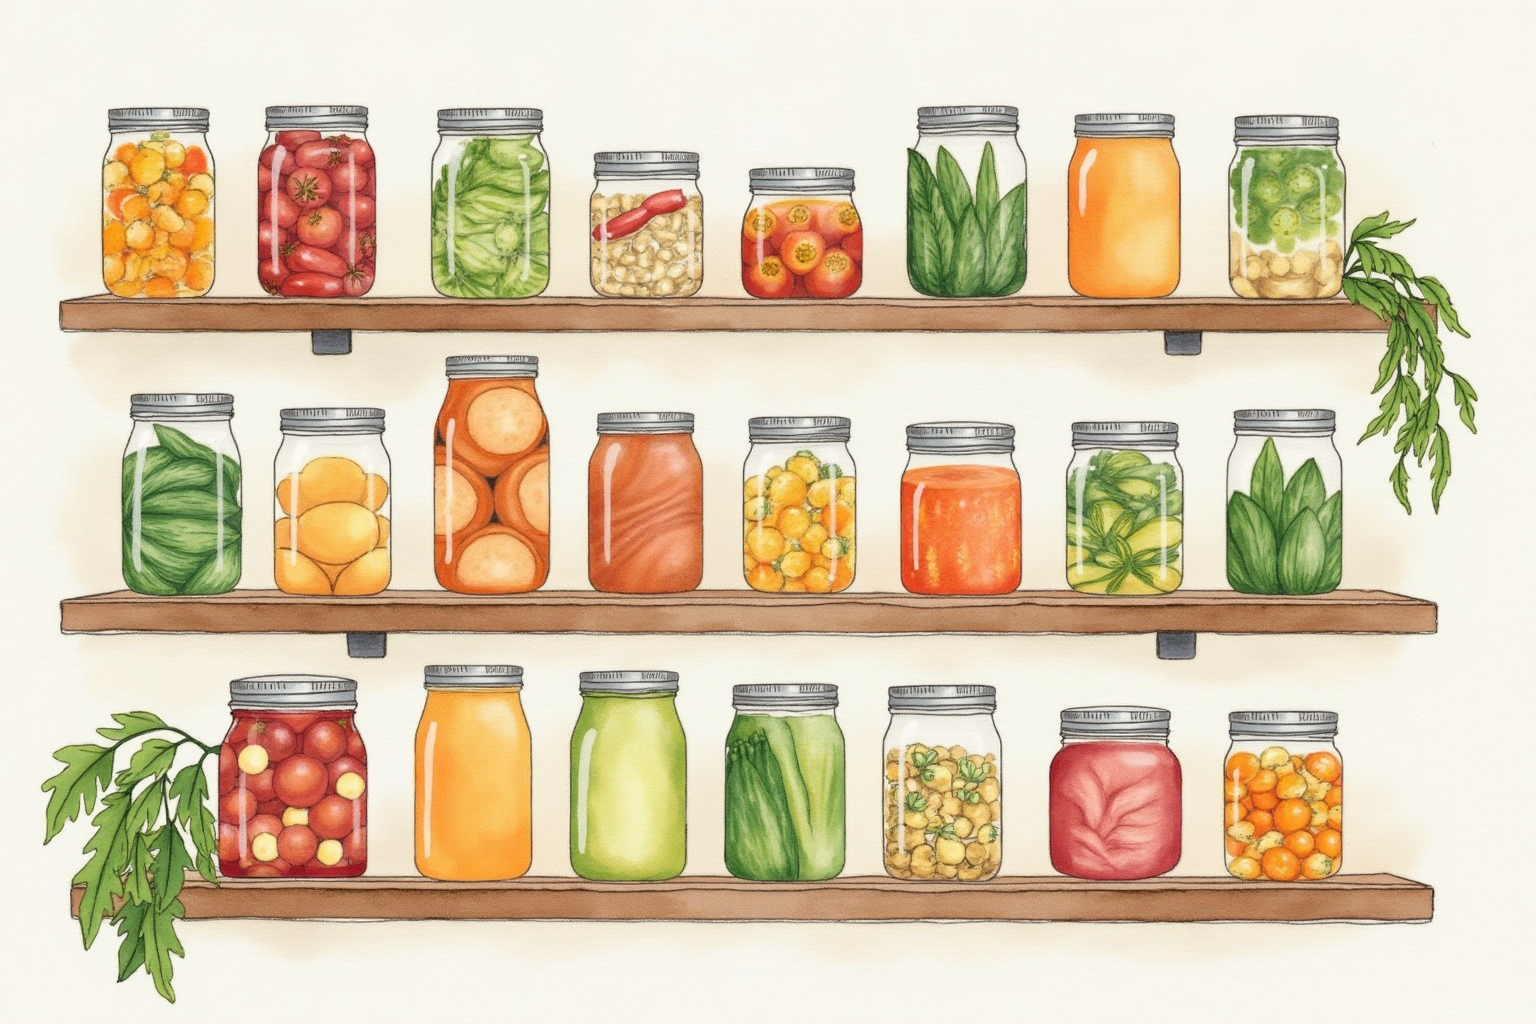
- Shelf stability — refrigerated, lasts months
Temperature ranges

Temperature is the most controllable variable in home fermentation. The lactic acid bacteria have an optimal range:
- 60-65°F (15-18°C): Slow fermentation, mild flavor. Takes 3-4 weeks for full development.
- 65-72°F (18-22°C): The sweet spot for most household kitchens. Takes 5-14 days. Produces clean, balanced flavor.
- 72-78°F (22-26°C): Faster fermentation, deeper flavor. Risk of off-flavors if too warm.
- 78°F+ (26°C+): Too warm for reliable results. Yeasts and other organisms compete with LAB. Produces sour-but-funky flavors and increases spoilage risk.
For most home kitchens, fermentation happens in a cool corner away from the stove or oven. Basements and pantries (60-65°F) produce slow but stable ferments. Kitchen counters in normal-temperature homes (68-72°F) produce the standard results.
A wall thermometer or room thermometer helps verify the actual fermentation environment.
Salt percentages by ferment
Salt-to-vegetable ratio varies by type of ferment:
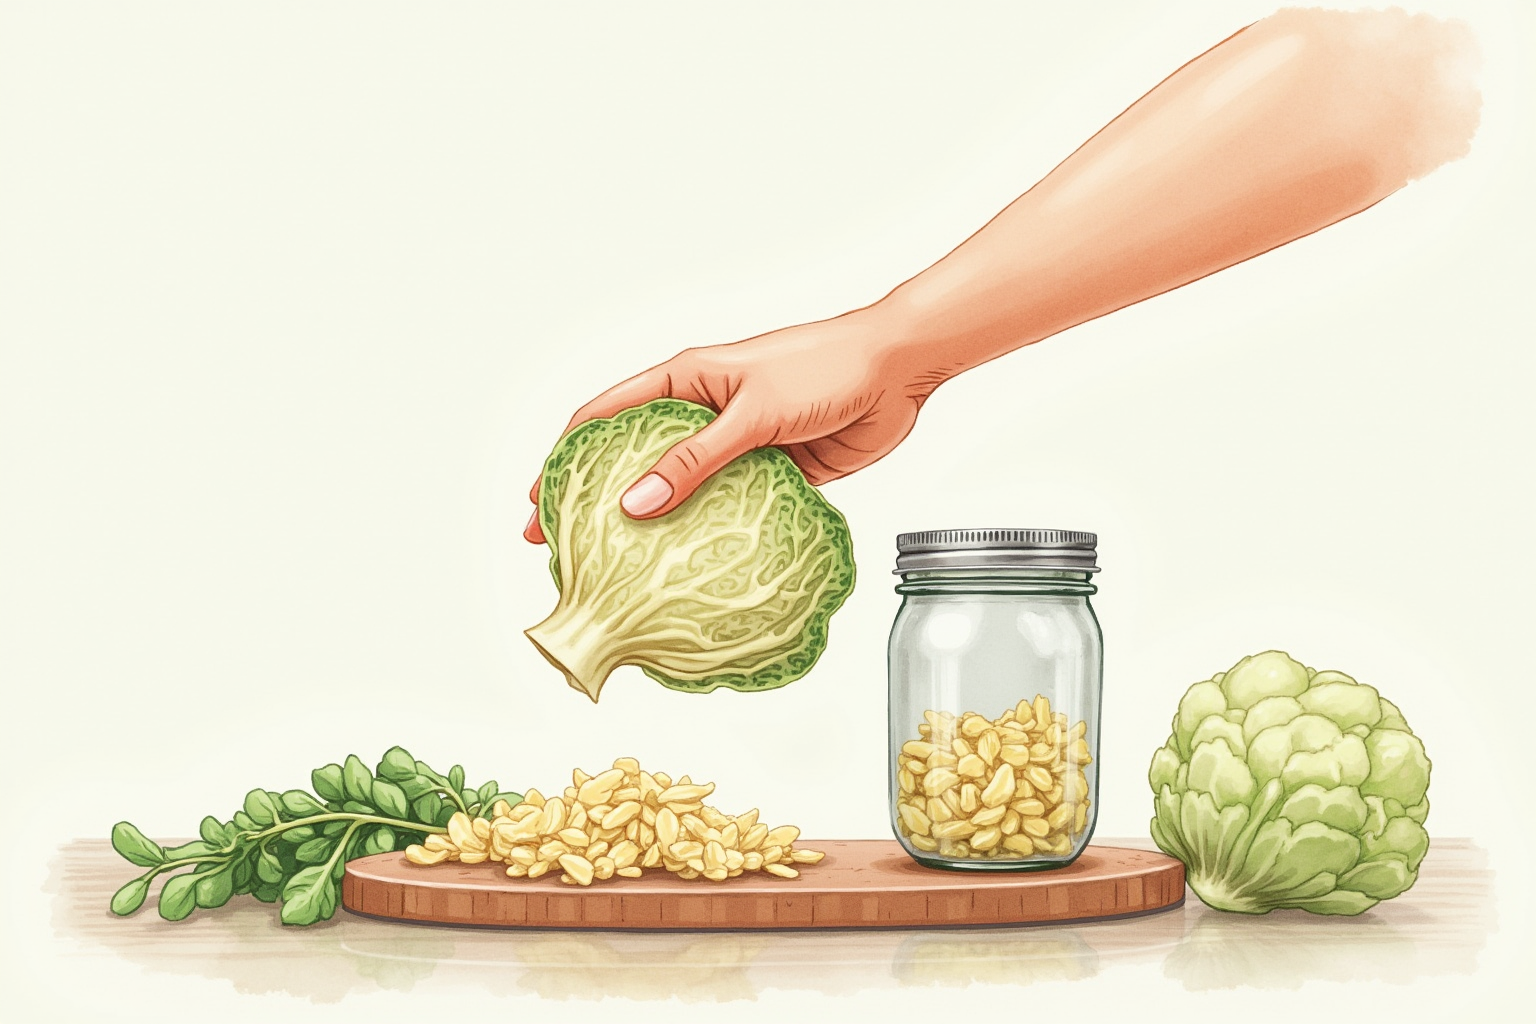
Sauerkraut (shredded cabbage): 2-2.5% salt by weight. For 1 pound (454g) of cabbage, use 9-11g of salt. Massage the salt into the cabbage until it releases liquid (about 5-10 minutes). The vegetables ferment in their own released brine.
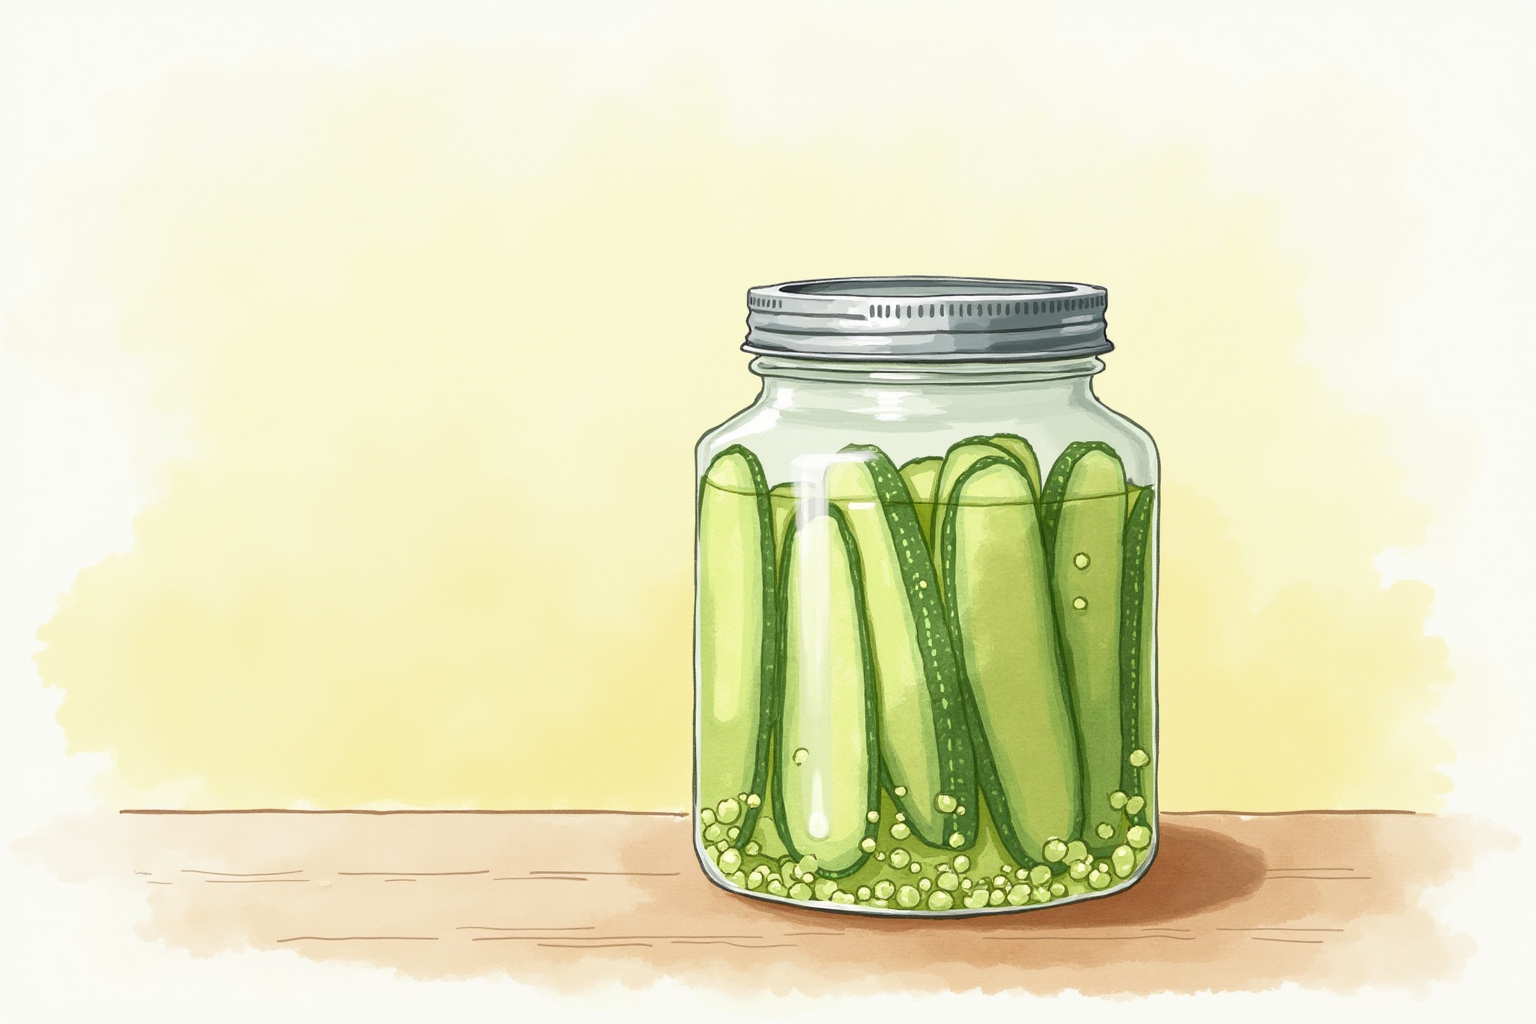
Dill pickles (cucumbers in brine): 3-5% brine. For 1 quart (1L) of water, use 30-50g of salt. Cucumbers go into the brine with whole spices and dill. The cucumbers should be fully submerged.
Kimchi: 2-3% salt mix. The traditional recipe uses salted cabbage rinsed lightly to retain about 2% salt content. Then mix with chili paste, garlic, ginger, fish sauce.
Hot sauce fermentation: 2-3% salt by weight of vegetables (peppers, garlic, etc.). Blended after fermentation.
Carrot or beet pickles: 2-3% brine. Use 20-30g salt per quart of water.
The general rule: 2-3% salt by weight of vegetables for solid ferments, 3-5% brine concentration for liquid ferments. Below 1.5% risks contamination; above 5% is too salty for most palates.
Airlock systems and burping
Fermentation produces CO2 gas. Without somewhere for it to escape, the jar pressurizes. Two solutions:
Manual burping (free): Use a regular Mason jar lid loosely. Every day or two, briefly unscrew the lid to release accumulated CO2. This is simple but requires attention; forgotten jars can leak or pop their lids.
Dedicated fermentation lids ($20-40 for a kit):
- Kraut Source: A stainless steel insert with a one-way valve. Place it on a regular Mason jar; CO2 escapes through a water moat.
- Pickle Pipe: A silicone airlock that replaces the metal disc. Self-vents excess CO2.
- Easy Fermenter: A plastic lid with built-in airlock and spring-loaded valve.
For occasional fermenters (1-2 batches per year), manual burping works fine. For frequent fermenters (monthly or more), the airlock systems are worth the convenience.
Top picks for fermentation gear
Ball Wide-Mouth Mason Jars (32 oz, 6-pack)
Price · $25-35 — best fermentation vessels
+ Pros
- · Wide-mouth opening makes packing and removing vegetables easy
- · 32 oz size handles a generous batch of sauerkraut or pickles
- · Reusable indefinitely with new lids after each ferment
− Cons
- · Glass requires care to avoid chipping
- · Multiple jars take freezer/pantry space for storage
Price, availability, and ratings can change; verify details on the retailer page before buying.
Kraut Source Fermentation Lid (Wide Mouth)
Price · $25-35 — best premium fermentation lid
+ Pros
- · Stainless steel construction lasts indefinitely
- · Built-in moat acts as one-way airlock
- · Spring weights submerge vegetables below brine line
− Cons
- · Premium price for single lid (need one per active ferment jar)
- · Requires water in the moat — needs occasional topping up
Price, availability, and ratings can change; verify details on the retailer page before buying.
Easy Fermenter 3-Lid Starter Kit
Price · $25-35 — best budget fermentation kit
+ Pros
- · Three lids in the starter kit handles parallel ferments
- · Plastic construction is dishwasher-safe
- · Built-in airlock requires no maintenance
− Cons
- · Plastic lid not as durable as stainless steel
- · Spring weight not always included (varies by package)
Price, availability, and ratings can change; verify details on the retailer page before buying.
The buying decision
For first-time fermenters, the Ball wide-mouth Mason jars at $25-35 plus the Easy Fermenter 3-lid starter kit at $25-35 covers the complete starter setup for around $60. This produces 3 parallel batches and provides everything needed for the first year of fermentation experimentation.
For frequent fermenters who plan to ferment monthly or more, upgrading to the Kraut Source stainless steel lids at $25-35 each is worthwhile. The lifetime durability and superior airlock mechanism pay back over many batches.
For occasional, single-batch ferments, regular Mason jars with manual burping (no special lids) works fine. Total cost: ~$5 for a single jar and lid set.
Avoid cheap no-name fermentation kits — air quality and seal reliability matter for successful fermentation. The $25-40 range is where reliable equipment starts; below that, the success rate of ferments drops noticeably.
Fermentation is one of the oldest food preservation techniques and produces some of the most flavorful results in cooking. The equipment cost is modest, the active work per batch is 15-30 minutes, and the rewards — homemade sauerkraut, kimchi, hot sauce, and pickles — last for months in the refrigerator. The combination of low effort and high reward makes it one of the most rewarding entry points to advanced home cooking.
2026 AdSense quality update: how to use this guide in a real kitchen
This section was added on 2026-06-26 after a sitewide quality review. The goal is to make Mason Jar Fermentation — Temperature and Timing Guide (2026) more useful than a short reminder list: it should help a reader decide what to do, what to measure, and when to stop. For this topic, the main risk is that the risk usually comes from one missed handoff between shopping, prep, cooking, serving, and cleanup. The safe response is not a vague promise to “be careful”; it is to write the trigger, thermometer check, time limit, cleaning step, and discard rule before the busy part of cooking starts.
Use the guide as a kitchen workflow, not as medical advice. If someone is already ill, has a high-risk immune status, is pregnant, is an older adult, or is feeding young children, use official food-safety guidance and professional medical advice rather than experimenting with borderline food.
Decision workflow for kitchen food-safety routine
| Checkpoint | What to verify | Safer default | Evidence to keep |
|---|---|---|---|
| Before cooking | Is the ingredient cold, separated, and within date? | Start with clean hands, a clean board, and a clean tool set. | Package date, refrigerator temperature, or shopping time. |
| During prep | Can raw juices or dirty water reach ready-to-eat food? | Separate raw, cooked, and produce zones before the counter gets busy. | Which board, knife, plate, and towel were used. |
| During cooking or holding | Is there a measurable temperature or time control? | Use a thermometer, timer, shallow container, or cooler plan instead of memory. | Internal temperature, discard time, or cooling start time. |
| Serving | Will guests open, touch, or move the food repeatedly? | Serve smaller portions and refill from a controlled hot/cold source. | Time the first serving dish left the refrigerator, grill, or oven. |
| Leftovers | Do you know the time and temperature history? | Refrigerate promptly; discard when the history is unclear. | Container label with date and food name. |
| Cleanup | Could residue move to tomorrow’s food? | Wash, sanitize where appropriate, and air-dry before storage. | Tool or surface that needs a second pass. |
Three common failure scenarios
- The schedule slips. Guests arrive late, errands take longer than expected, or a storm changes the plan. When timing changes, reset the food-safety clock instead of stretching it. Move food back to controlled temperature, or write a new discard time.
- The workspace gets crowded. Phones, towels, packaging, pets, and drink cups enter the prep area. Clear one clean landing zone for ready-to-eat food and keep raw-food tools visibly separate.
- A food looks fine but the history is unknown. The dangerous version is letting convenience replace temperature, separation, or handwashing. Smell, color, and texture are not reliable safety tests. When the time/temperature history is missing, discard the food.
Household checklist
- Put a refrigerator thermometer where it can be seen without moving food.
- Keep at least one instant-read thermometer clean and easy to reach.
- Use shallow containers for dense leftovers and label the date.
- Keep raw-meat boards, produce boards, and serving platters visually different.
- Decide the discard rule before cooking begins, not after everyone is tired.
- Re-check official sources when cooking for high-risk people or large groups.
Why this page exists
Many food-safety articles repeat the same four words—clean, separate, cook, chill—without showing the handoffs where people actually fail. CookNest Daily articles now include the handoff: what to measure, what to separate, what to label, and what to discard. That is the value this page adds for readers preparing a real meal.