Braising Tough Cuts — 2026 Temperature and Timing Data
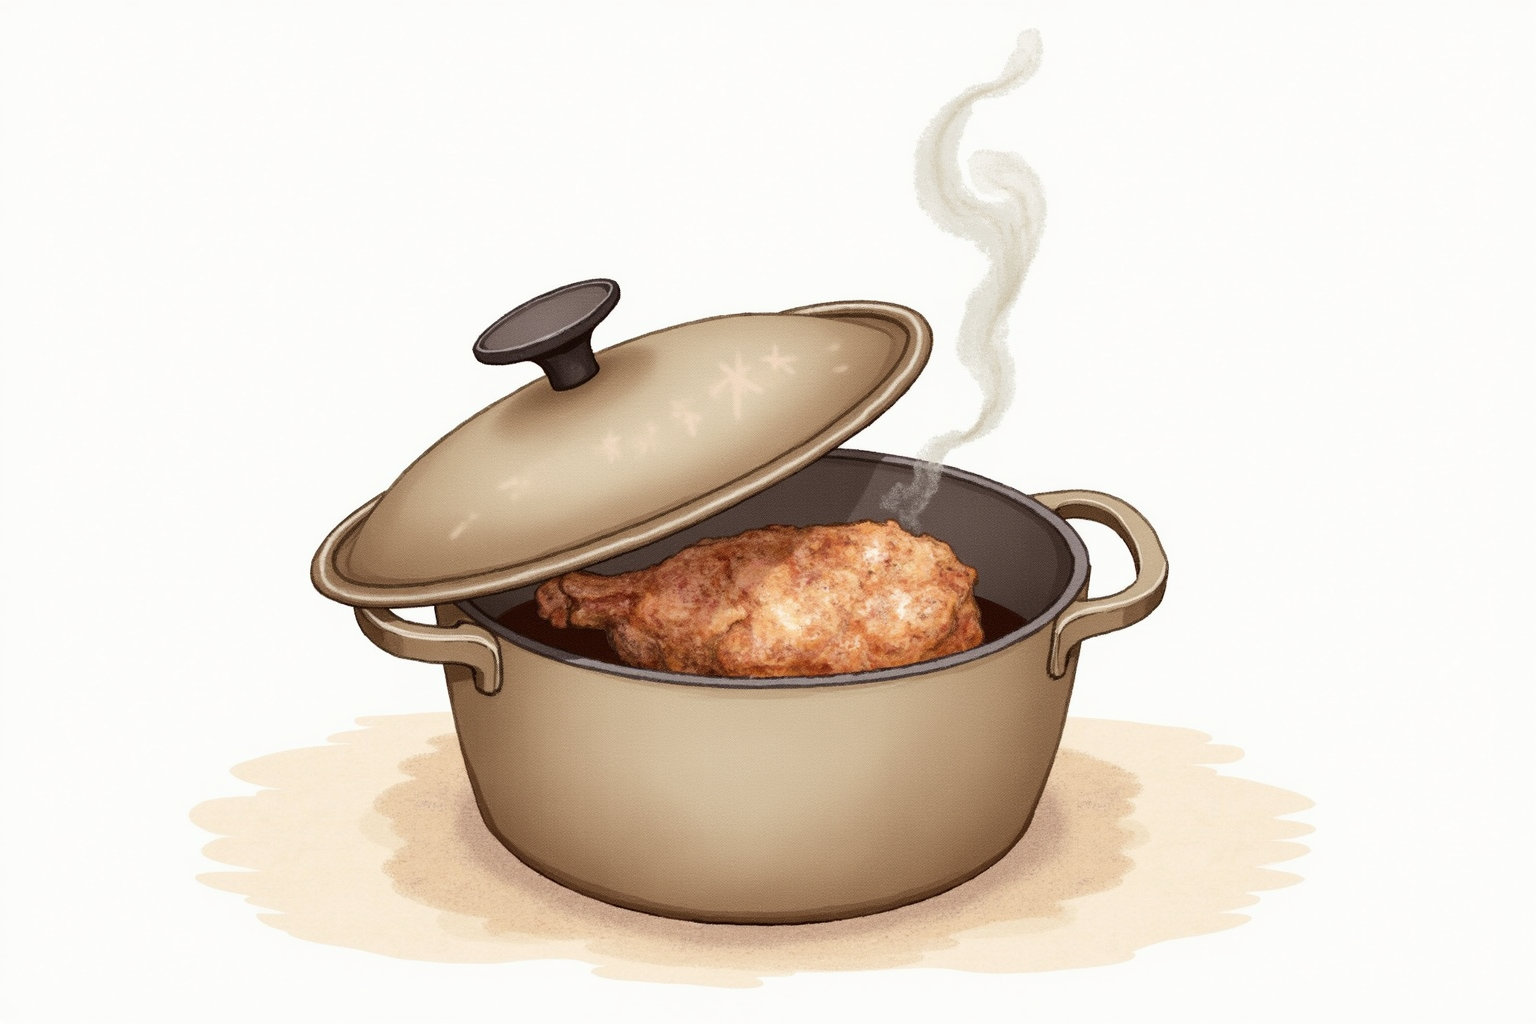
Collagen converts to gelatin at 160-180 degrees Fahrenheit. The 4-hour low-and-slow braise melts connective tissue into silky tenderness. Here is the technique that works.
Safety fact check included
CookNest Daily articles surface source counts, timing assumptions, kitchen-test notes, and food-safety caveats. This label means editorial safety review, not a substitute for local food-code or medical guidance.
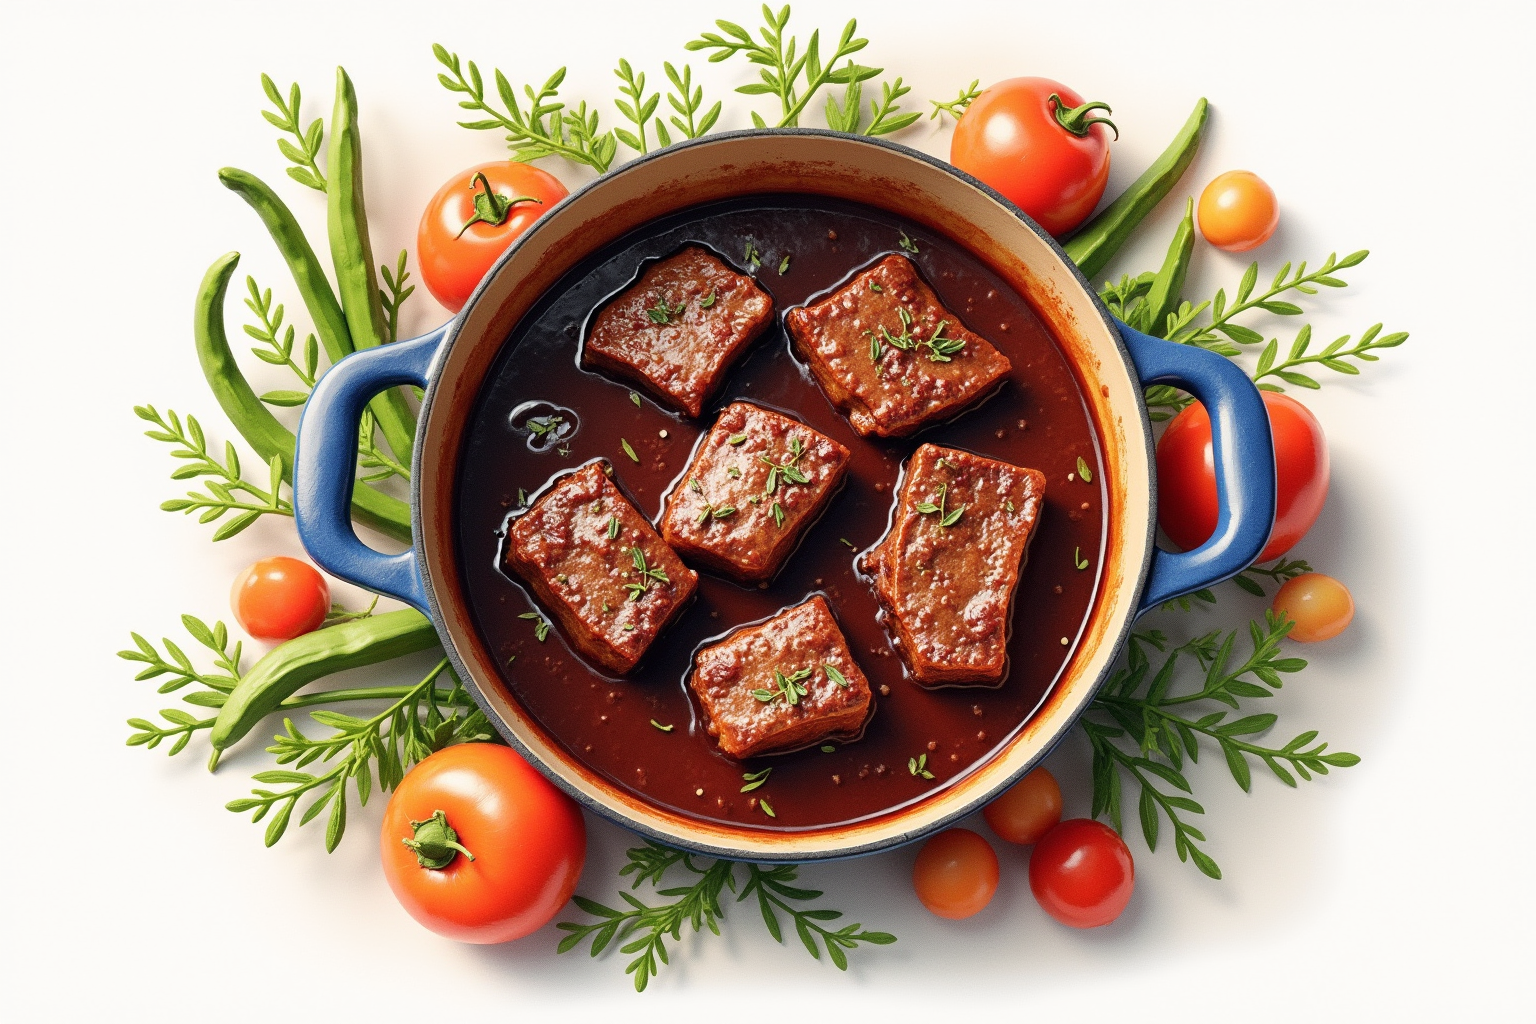
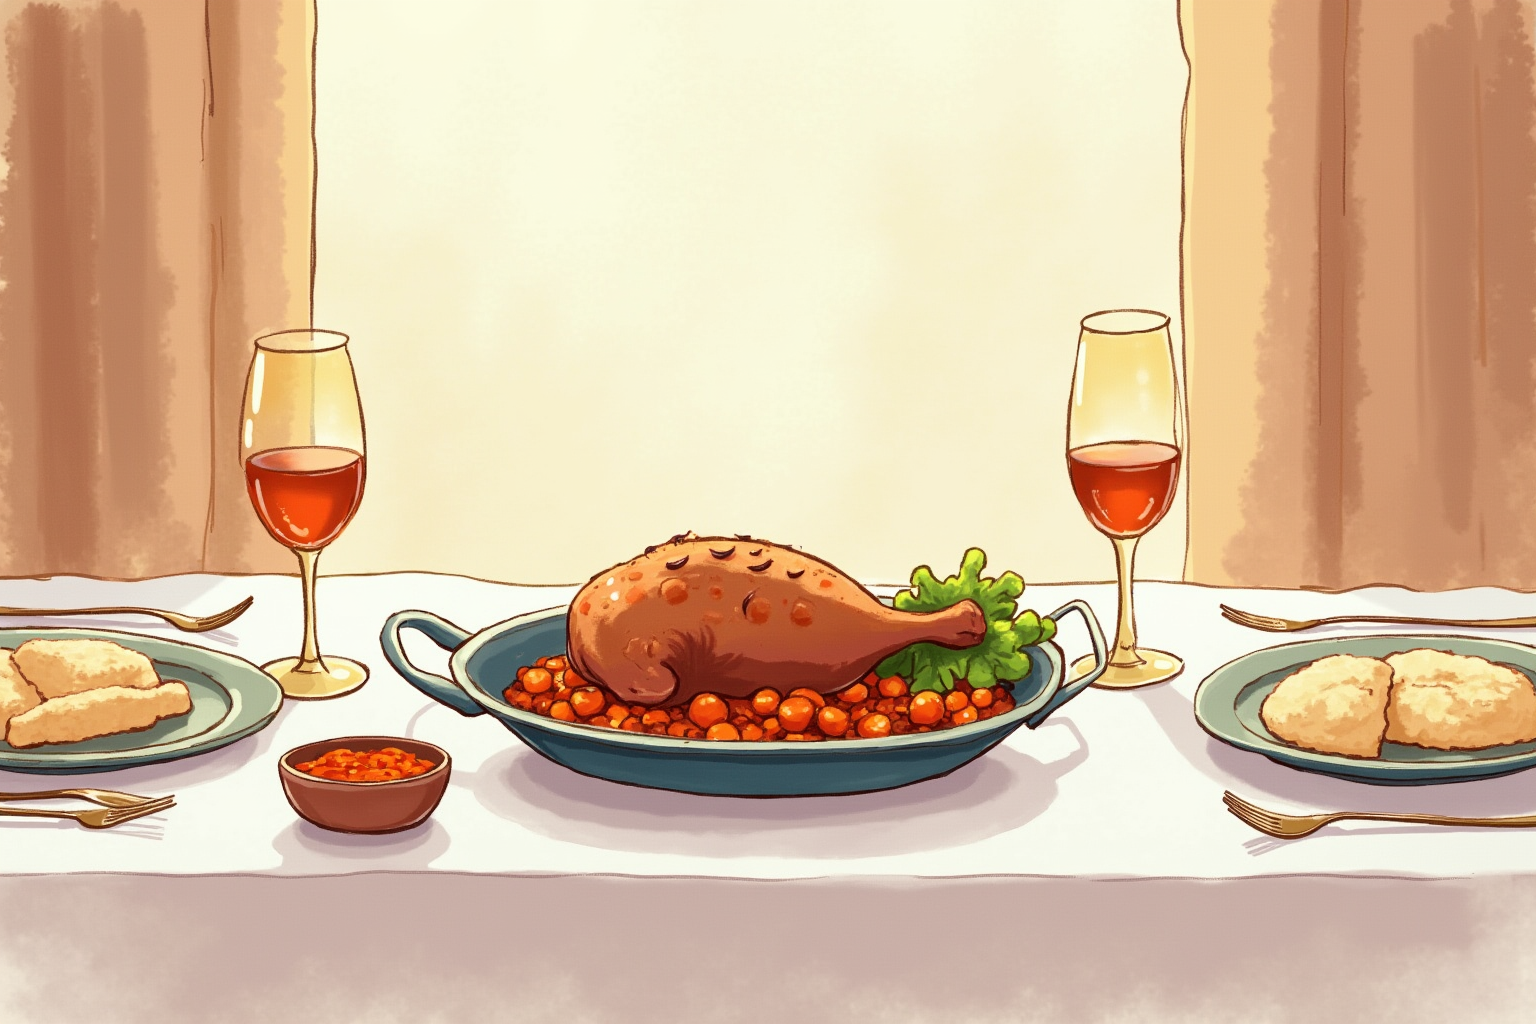
The fall-apart-tender braised short rib, pot roast, or osso buco is one of cooking’s most reliable transformations. Tough, sinewy meat from working muscles becomes silky, fork-tender through a single chemical change — the conversion of collagen connective tissue to gelatin at sustained moderate temperature. The technique is forgiving, the equipment is simple, and the result is universally crowd-pleasing.
This article explains the underlying chemistry, lays out the temperature and timing data that determines whether a braise produces tender or shoe-leather results, and provides the equipment recommendations for the workflow. The conclusion is that braising fails for predictable reasons (wrong cut, wrong temperature, rushed timing) and succeeds reliably when those variables are managed.
- Why tough cuts braise better than tender cuts
- Collagen-to-gelatin conversion temperature and timing
- The Maillard browning step and why skipping it loses 50% of flavor
- Liquid level and oven temperature targets
- Top picks for braising vessels across $60-450 budget range
Why tough cuts braise better
Beef and other red meats contain two main structural components: muscle fibers (the lean, fibrous portion) and connective tissue (collagen, which holds muscles together and attaches them to bone).
Tender cuts (tenderloin, ribeye, strip steak) come from less-worked muscles like the back. These have minimal connective tissue and benefit from quick high-heat cooking that doesn’t dry out the lean muscle.
Tough cuts (chuck, brisket, short rib, oxtail, shank) come from working muscles like the shoulder, leg, and rib area. These have significant connective tissue running through them. Quick cooking leaves the connective tissue chewy and tough.
The braising magic happens when collagen converts to gelatin. The conversion requires:
- Sustained heat at 160-180°F (71-82°C) internal temperature
- Moist environment (the surrounding liquid)
- 3-4 hours of cooking time
During this time, the collagen unwinds from its triple-helix structure and dissolves into the liquid. The dissolved gelatin coats the muscle fibers, providing the silky mouthfeel that defines a great braise. The liquid itself becomes the rich sauce.
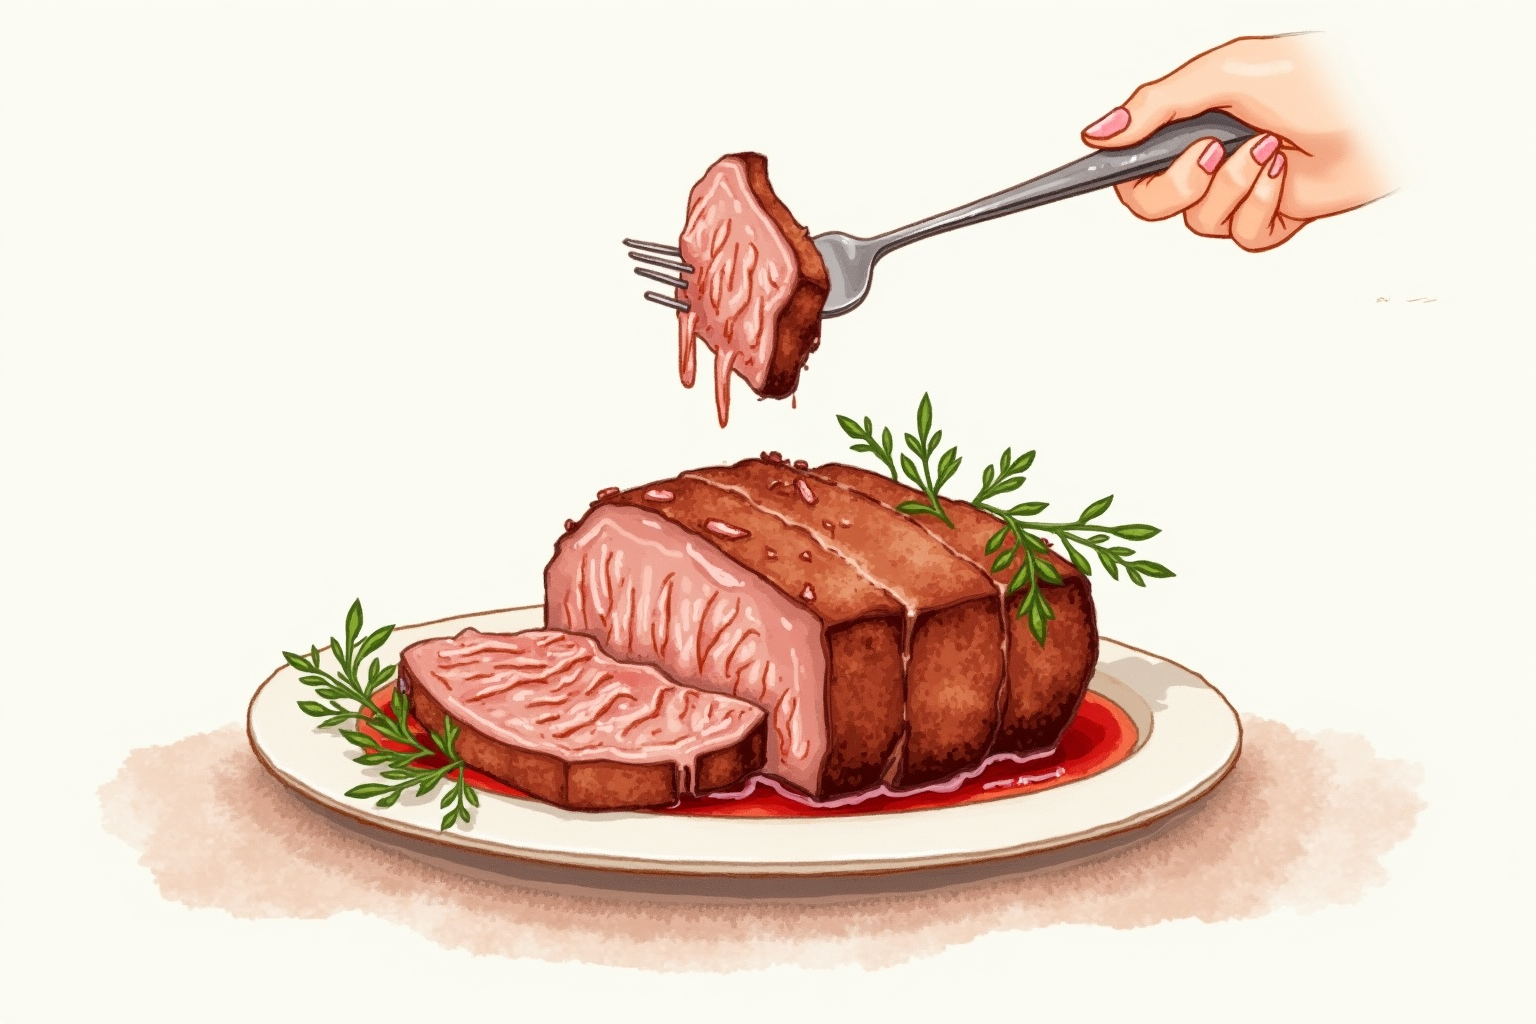
Tenderloin braised for 4 hours produces dry, shreddy meat with no sauce body — the cut has no collagen to convert. Chuck braised for the same time produces fall-apart tender meat in a rich gelatinous sauce. The cut selection is the most important variable.
The temperature target
The braising liquid should sit at 200-210°F — gentle bubbles rising from the bottom but no rolling boil.
Why this temperature: hot enough to maintain the 160-180°F internal meat temperature needed for collagen conversion, cool enough to avoid the violent muscle-fiber contraction that occurs at full boil.
Oven temperature: 300°F for typical Dutch ovens. The pot walls lose some heat to the surrounding oven air, so the oven needs to be 90-100°F hotter than the target liquid temperature.
Stovetop temperature: Burner on low. Check that the surface bubbles are gentle — small bubbles rising regularly but no aggressive boiling. If the bubbles are too aggressive, reduce the burner. If no bubbles, increase slightly.
Why violent boiling ruins braises: Muscle fibers contract violently at full boil and squeeze out their moisture. The result is dry, fibrous meat in liquid that lost its body. This is the most common cause of disappointing braises — well-intentioned cooks who turn up the heat thinking it will speed cooking.
The slow simmer is non-negotiable. 3-4 hours at gentle simmer beats 90 minutes at full boil every time.
The Maillard step
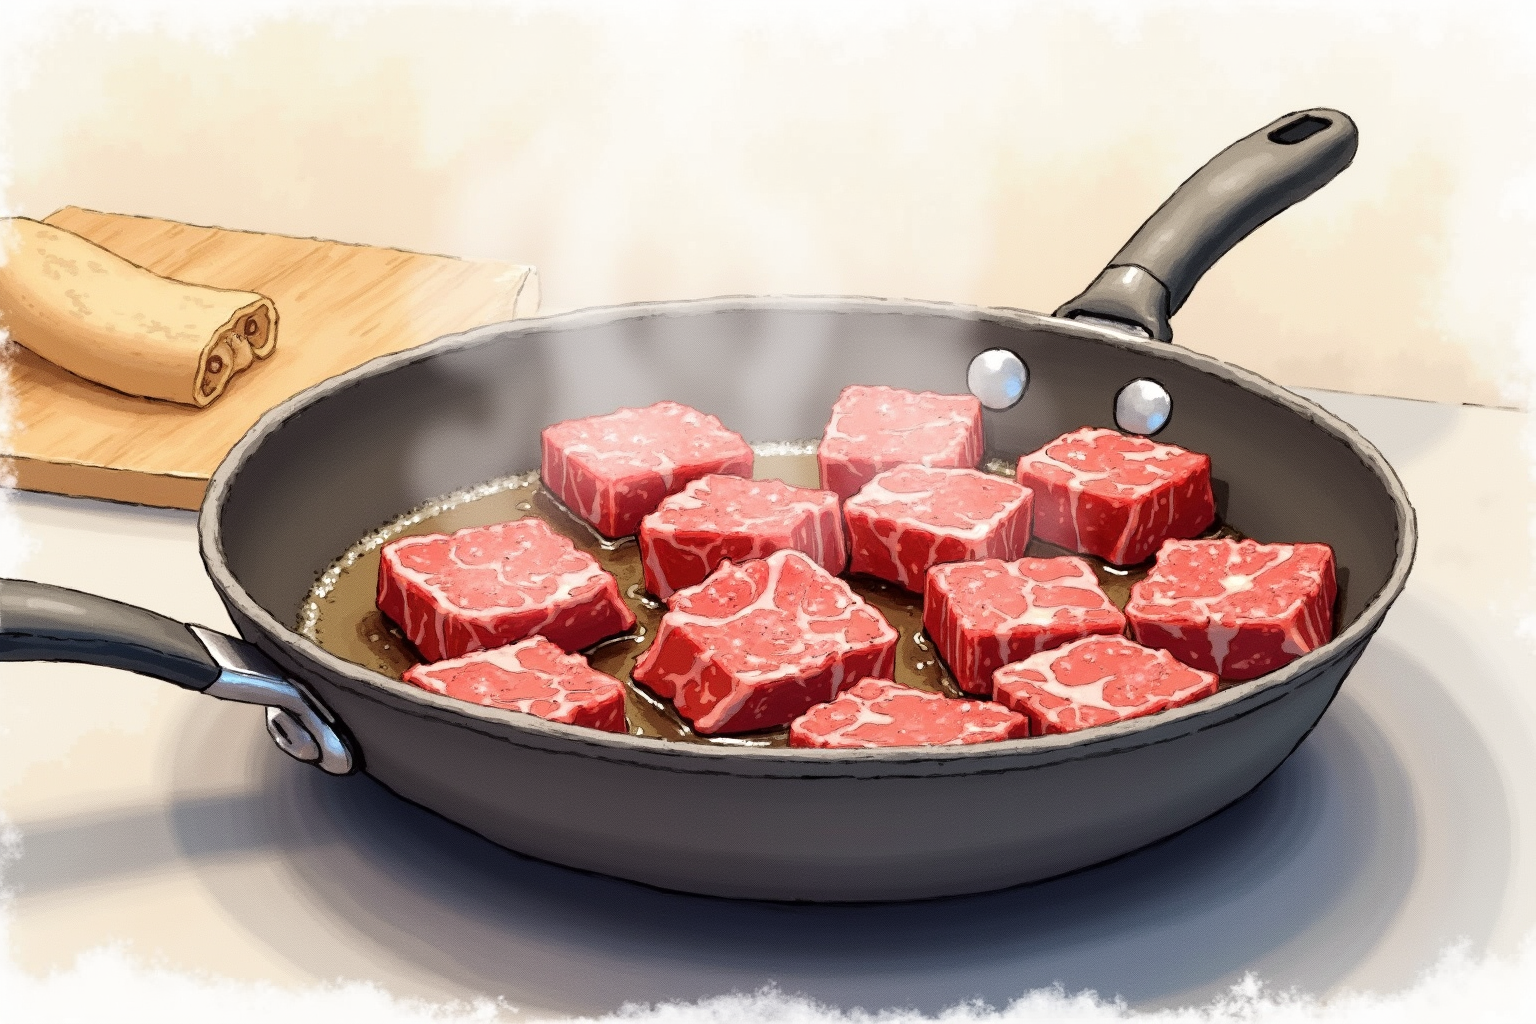
The single highest-leverage step in braising is browning the meat before adding liquid.
Why it matters: The Maillard reaction on the meat surface produces hundreds of brown flavor compounds — deep, savory, complex notes that develop into the braising liquid over hours. Unbroward meat in liquid produces a thin, one-note flavor; browned meat produces the rich, layered flavor of restaurant-quality braised dishes.
The protocol:
- Pat meat dry with paper towels (wet meat steams, doesn’t brown).
- Salt generously (kosher salt at 1% of meat weight).
- Heat 1-2 tablespoons of oil in the Dutch oven over medium-high heat until shimmering.
- Add meat in batches without overcrowding. Each piece should have at least 1 inch of space around it.
- Don’t move the meat for 3-4 minutes. Let one side develop deep golden-brown color.
- Turn and brown the other sides, 2-3 minutes each.
- Transfer browned meat to a plate. Repeat with remaining batches.
The total browning step adds 15-20 minutes to the recipe. The result is dramatically deeper flavor — most cooks who taste braised meat with and without proper browning identify the browned version as the higher-quality dish in blind taste tests.
After browning, deglaze the pot with wine or stock — pour the liquid in and scrape up the browned bits stuck to the bottom. These bits (the fond) dissolve into the braising liquid and contribute the deep flavor that distinguishes great braises from mediocre ones.
Liquid level and braising medium
The liquid should cover the meat about 75% of the way up the sides. Too little liquid and the top of the meat dries out; too much and the flavors dilute.
Common braising liquids:
- Stock or broth (chicken, beef, vegetable): the standard. Provides protein and gelatin to thicken the sauce.
- Wine (red for beef, white for poultry): contributes acidity and flavor depth. Typically 25-50% of the liquid volume.
- Beer: produces rich, slightly bitter flavor. Stout for hearty beef braises, lighter ales for pork.
- Tomato (whole canned or paste): adds acidity and umami. Common in Italian braises.
- Cream or coconut milk: for richer braises like coq au vin or curry braises. Add in the last 30 minutes to prevent breaking.
Aromatics (onion, garlic, carrot, celery, herbs) add depth. Brown them briefly in the residual fat after the meat browning step, then deglaze and add the braising liquid.
Top picks for braising vessels
Lodge 6-Quart Enameled Dutch Oven
Price · $60-90 — best budget pick
+ Pros
- · Enameled cast iron at one-third the price of premium brands
- · Lid fits tightly for proper moisture retention
- · 6-quart capacity handles most family-size braises
− Cons
- · Enamel chips more easily than premium brands' coatings
- · Heavy at 13+ lbs
Price, availability, and ratings can change; verify details on the retailer page before buying.
Le Creuset 5.5-Quart Round French Oven
Price · $320-420 — best premium pick
+ Pros
- · Lifetime warranty and exceptional durability
- · Self-basting nub design on lid promotes moisture cycling
- · Made in France with vibrant enamel that resists chipping
− Cons
- · Premium price reflects brand prestige
- · Older models had phenolic knobs limited to 480°F
Price, availability, and ratings can change; verify details on the retailer page before buying.
Staub 5.75-Quart Round Cocotte
Price · $280-380 — best mid-premium pick
+ Pros
- · Black matte enamel develops natural seasoning over time
- · Self-basting spikes inside the lid drip back onto meat
- · Phenolic-free steel knob handles full oven heat
− Cons
- · Premium price similar to Le Creuset
- · Black interior makes monitoring browning slightly harder
Price, availability, and ratings can change; verify details on the retailer page before buying.
The buying decision
For home cooks who braise occasionally (a few times per year), the Lodge 6-quart enameled Dutch oven at $60-90 delivers the same braising results as premium brands at one-third the price. The enamel coating may show chips after a decade of use, but the cooking performance is essentially identical.
For home cooks who braise weekly or use the Dutch oven for multiple tasks (bread, soup, stew), the Le Creuset 5.5-quart at $320-420 is the long-term investment. The lifetime warranty and the brand resale value justify the price for users who appreciate the visual presence and use the pot for years.
For premium quality with better self-basting design, the Staub 5.75-quart at $280-380 is the chef’s pick. The lid spikes cycle moisture back onto the meat continuously, producing slightly more tender braises than smooth-lid alternatives.
Avoid Dutch ovens with thin or chipped enamel, no-name aluminum (warps under sustained heat), or pots smaller than 5 quarts for serious braising (you need room for the meat plus liquid plus aromatics without crowding).
Braising rewards patience. The 4-hour cooking time is unforgiving of attention but forgiving of variation — pull the meat anywhere in the 3-4 hour window and the result is excellent. Plan accordingly: start braising 4 hours before the meal, then walk away. The reward is consistently among the most satisfying meals home cooking produces.